Add Power BI Visuals to Dynamics 365 CE Dashboard


In a prior article, we discussed how to add a Power BI Dashboard to Dynamics 365. Sometimes, you may want to add a specific visual from Power BI to a Dynamics 365 dashboard, but not the entire Power BI dashboard. This post will teach you how to embed Power BI tiles on a personal Dynamics 365 dashboard and share that dashboard with other users.
Embed Power BI Tiles on a Personal Dynamics 365 Dashboard
- Open your app and navigate to the Dashboards area.
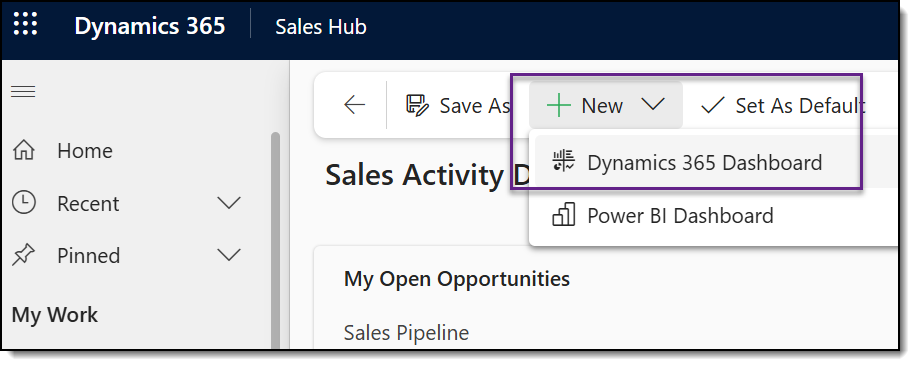
- Select and existing personal dashboard, or select + New > Dynamics Dashboard to create a new one.
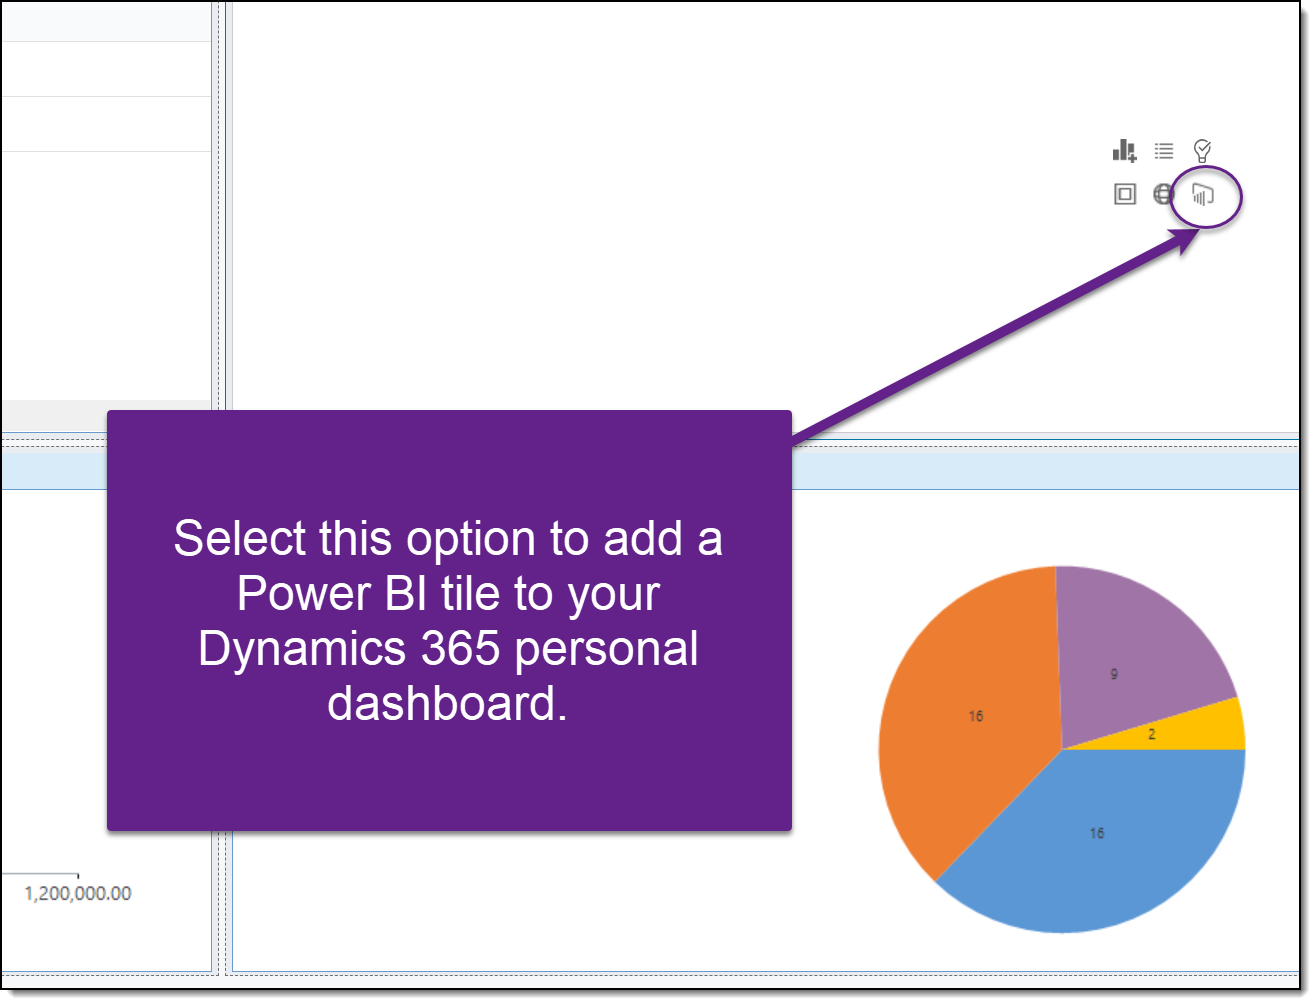
- On the dashboard, select an area where you want the Power BI visual to appear. In the box, select the Power BI Tile option.
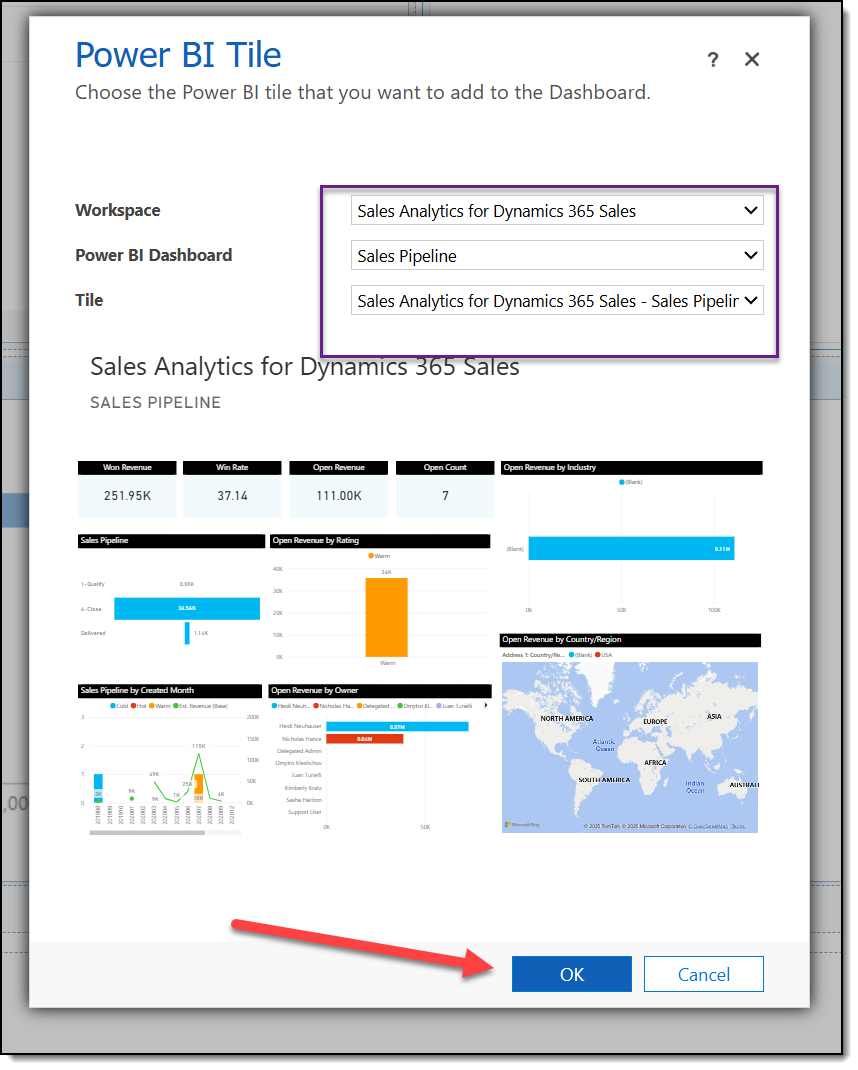
- In the Power BI Tile dialog, select the workspace, Power BI Dashboard and then the tile you want to display on your dashboard. Once selected, click OK at the bottom.
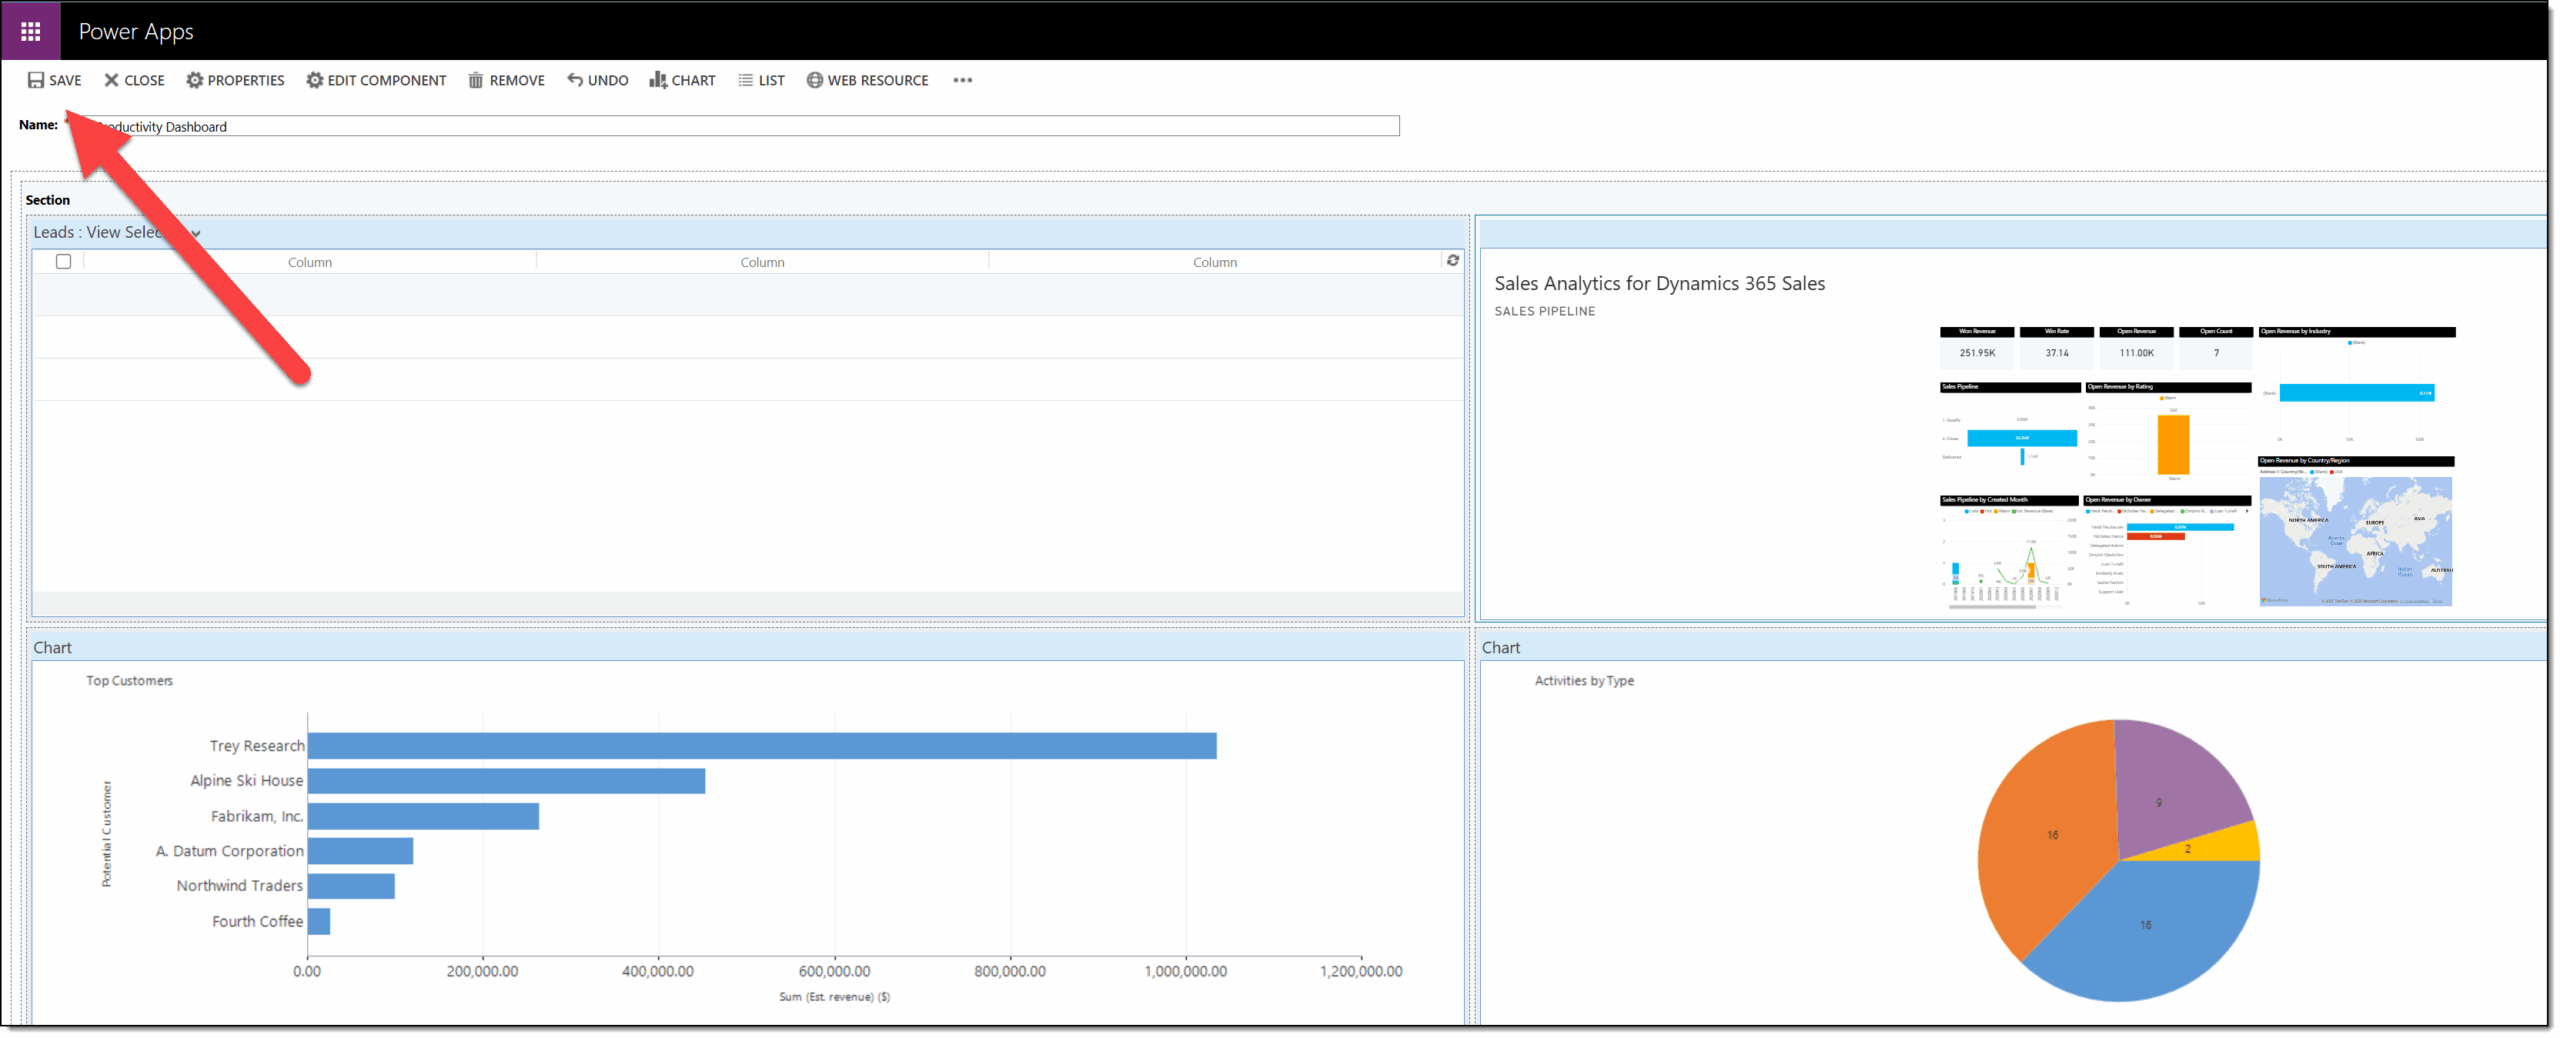
- Select Save.
Not Available for System Dashboards
It is very important to clarify that you can only add Power BI tiles to personal dashboards, not system dashboards. When you create a personal dashboard that you want to share, follow these simple steps:
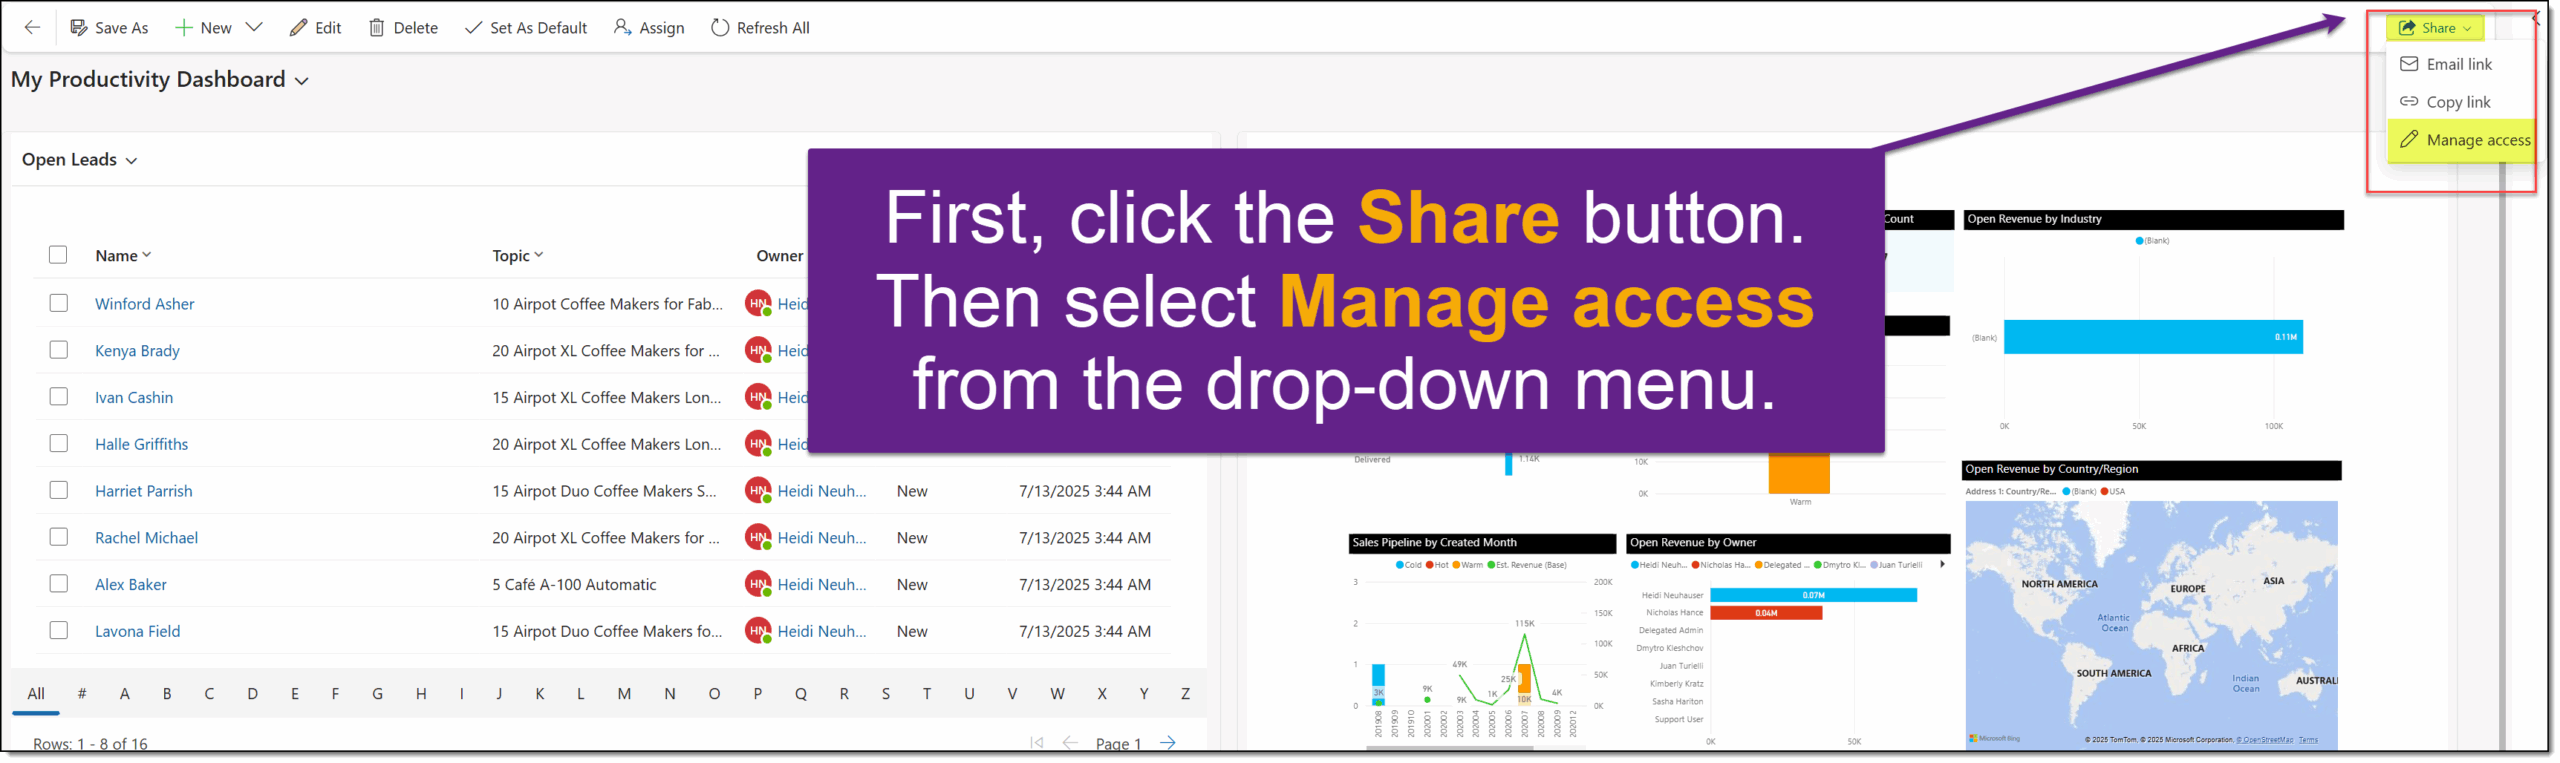
- From your dashboard, click the Share button in the top right-hand corner, then select Manage access.
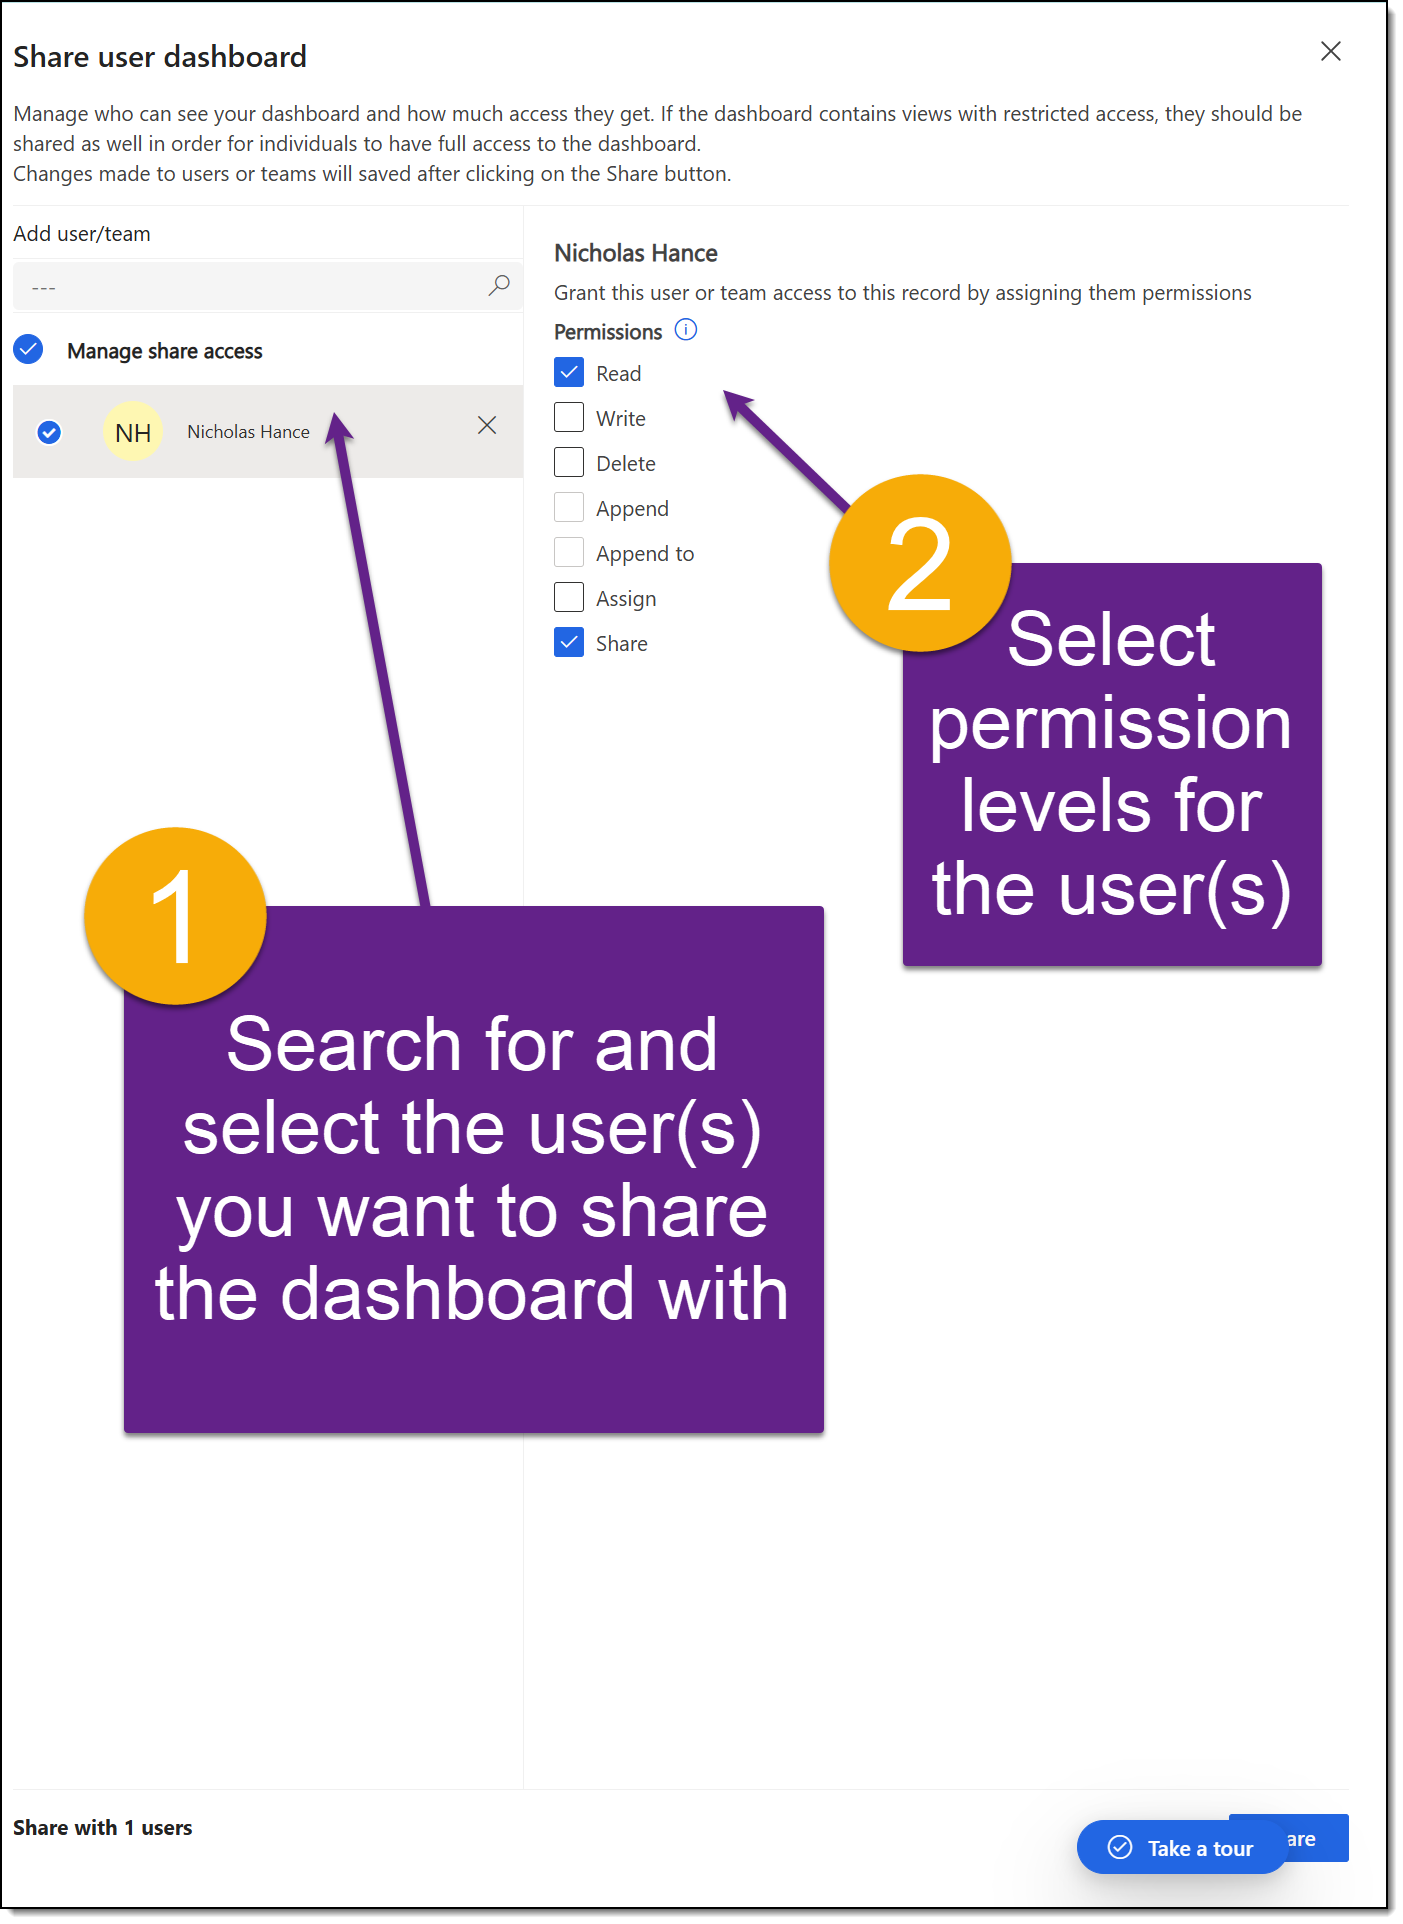
- Search for the user(s) or team(s) by clicking in the Add user/team box. Click on each user and select permission levels:
- Read: user(s) can view the dashboard
- Write: user(s) can update and change the dashboard
- Delete: user(s) can delete the dashboard for anyone who has access to it
- Assign: user(s) can re-assign this dashboard
- Share: user(s) can share this dashboard to other users
Closing Thoughts
Embedding individual Power BI visuals into personal Dynamics 365 dashboards is a powerful way to surface relevant data where users work. While limited to personal dashboards, shared access ensures teams still benefit. For deeper insights, consider embedding visuals on forms, a topic we will cover in upcoming articles.