Mapping Columns Between Tables


Let’s go deeper into table relationships. Column mapping is configured on a 1:N relationship and is typically used to populate fields on the child record from the parent when the child is created in the context of that relationship. This is one of my favorite features to help reduce duplicate data entry for your end users, and it’s one of the things you can only configure in the classic interface.
How it Works
Many standard tables come with default relationship mappings out of the box. When a user creates a child record from a parent record (or when a record is created via a relationship), mapped fields on the target record are automatically populated from the source record. You may have seen similar auto-population behaviors in model-driven apps, such as:
- When a Contact is added from an Account, the address 1 columns are automatically set.
- When a Lead is Qualified to an Opportunity, the Topic is automatically set and matches what was on the Lead.
- When a Case is added from an Account, the Company Name is automatically set.
The great news is that you can configure this to include your own custom columns on a relationship, which leads us to the rules of column mapping.
The Rules
Not all columns can be mapped, and for some column types, there are very specific rules to be met before being a candidate for column mapping. Here is a list of rules your mapping must follow:
- The length of a target field must be equal to or greater than the length of the source field.
Troubleshooting Tip: I have run into this one several times with Text columns. If your source (Lead) has a free text column set to 200 characters, but your target (Opportunity) has a free text column set to 100 characters, you will see that it is ineligible to be mapped. The fix is to set your Opportunity free text column to 200+ characters.
- Both fields must be the same type and format.
- A field may be mapped only once; if it is currently mapped, it cannot be mapped again.
- If a field doesn’t show as eligible, confirm it’s included on the relevant form(s) and not hidden by business rules.
- The target field must be a field that a user can enter data into (not calculated, locked/system-managed, or otherwise read-only).
- If the fields are option sets, the integer values for each option should be identical.
Troubleshooting Tip: Avoid future headaches by always using global choice sets when building a new choice column! When in doubt: make it a global choice set.
- Address ID values can’t be mapped (the GUID behind address lookups).
Switching to Classic
From the Power Apps Maker portal, open a Solution that you are working on. At the top ribbon, click the ellipses icon to view more options, then select Switch to classic. 
After some time, a new tab will open with the classic experience.
Troubleshooting Tip: Did you click the Switch to classic button, only to wait a very long time for anything to happen? Try clicking it again, launching a second browser with Classic. Likely, it will load faster.
Configuring Mapping on a 1:N and N:1 Relationship
In the solution, navigate to the table and relationship where you want to apply mapping. In this example, we will use the Account to Case relationship. Open the relationship, then click Mappings: 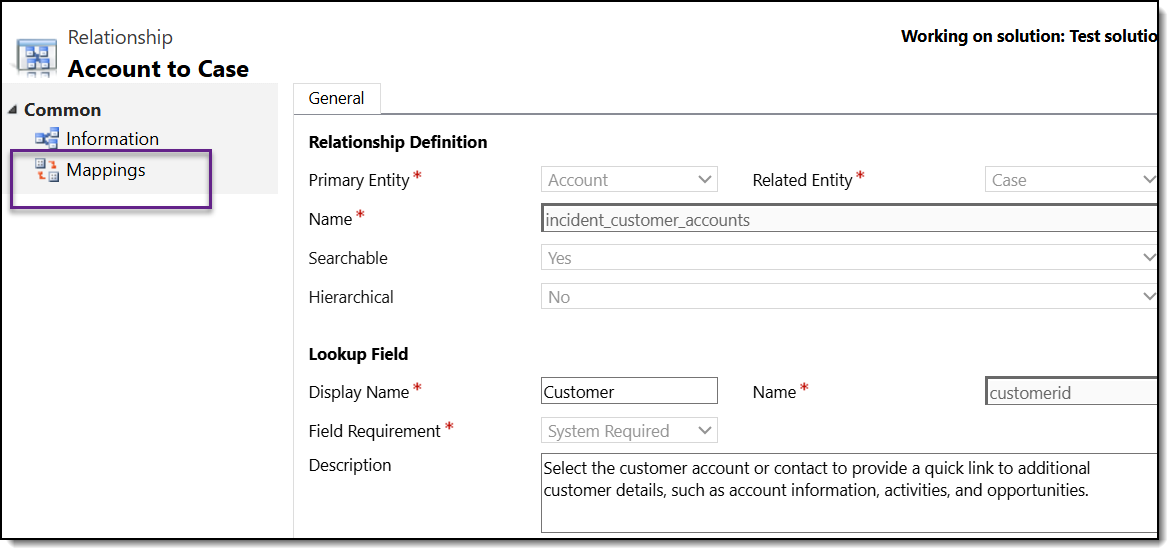
All currently mapped fields will display in this window. Click New to create a new column mapping: 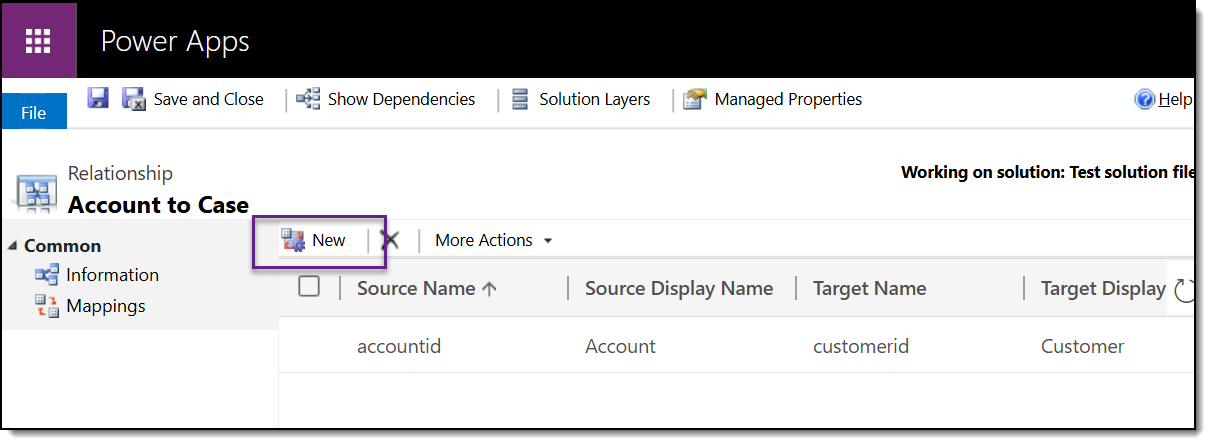
All eligible columns will now appear in both lists. On the left-hand side are the columns for the parent table (Source), and on the right-hand side are the columns for the child table (Target). Select your columns, then click OK. 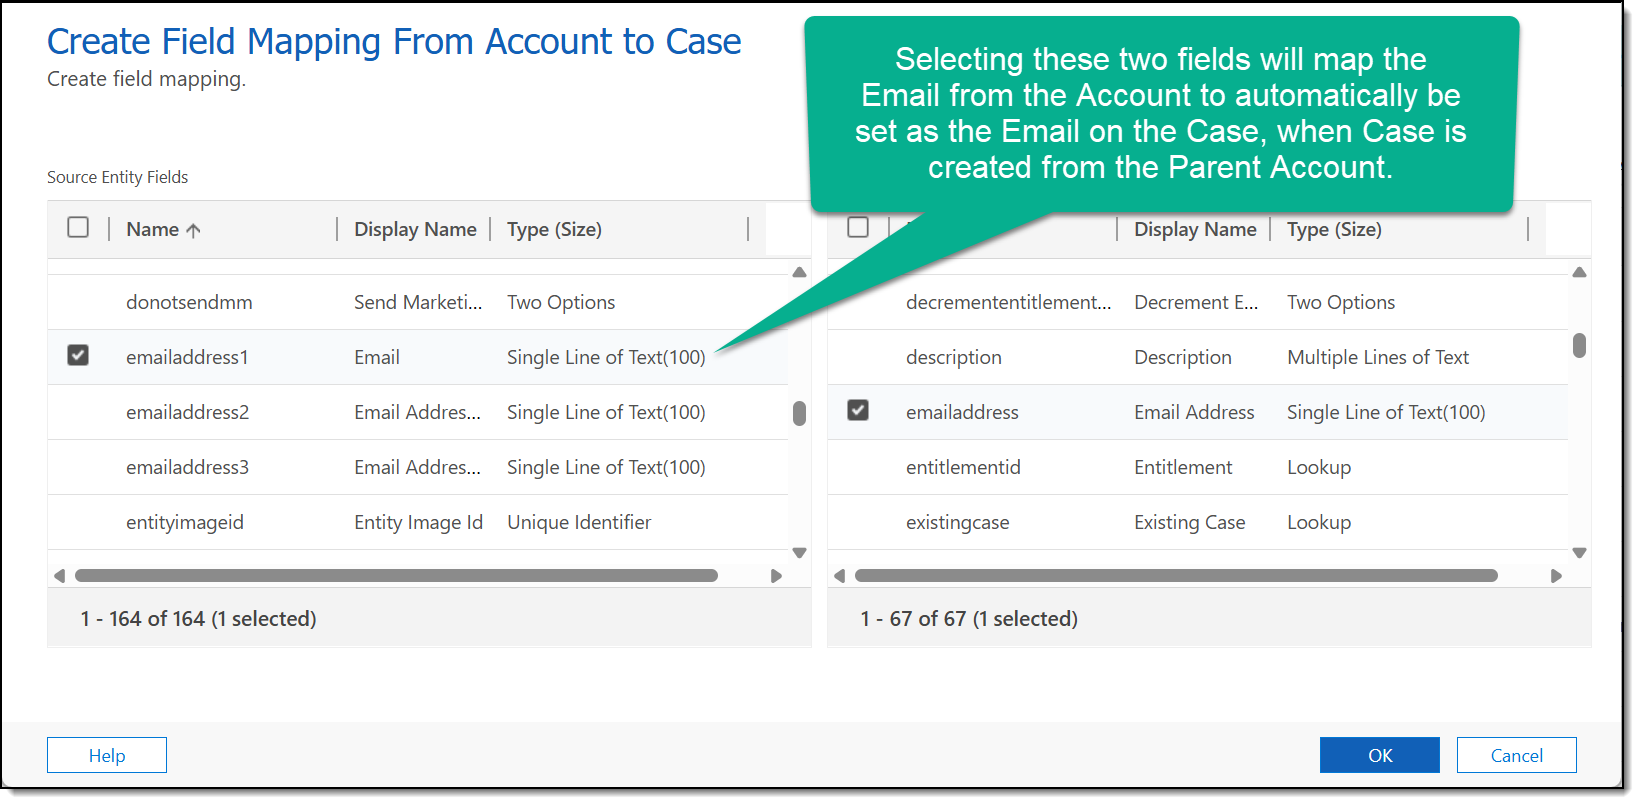
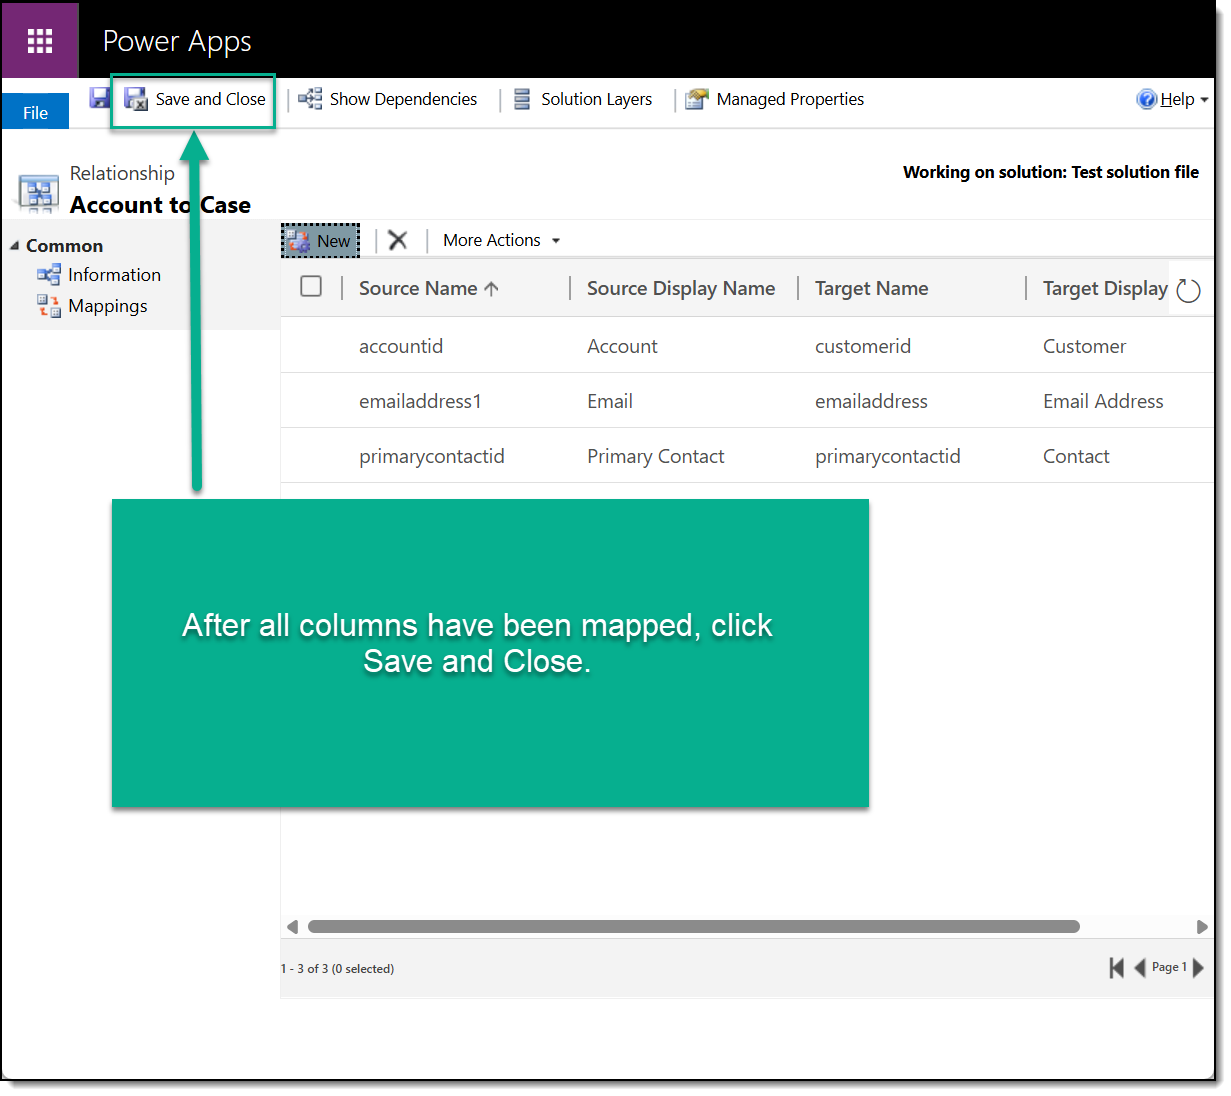
You can only map one column at a time. Repeat until you have finished mapping all columns. Back on the main relationship screen, click Save and Close. Be sure to publish all customizations before testing.
Mapping Columns in the Real World
Here are several scenarios where this has been implemented with great success:
- Lead:
- Opportunity: The Lead has a custom column called Lead Source. The Opportunity has a custom column named “Opportunity Source.“ Both columns use the same global choice set. Applying column mapping prevents end users from having to re-enter data in the Opportunity when it has already been set on the Originating Lead.
- Account:
- Contact: On the Account, the Address 2 columns are all used to capture Ship To data for an organization, and the Address 1 columns are used to capture Bill To data. A Contact is unique to the Ship To address, not the Bill To. This won’t update existing Contacts; it only affects new Contacts created through that relationship (unless you backfill via a flow/bulk update).