Dynamics 365 Customer Insights-Journeys: Add Marketing Interactions in Contact or Lead Timeline


If you have started using Customer Insights-Journeys with an existing Dynamics 365 environment, you may have noticed that the marketing interactions, like emails sent or form submissions, do not natively display on the timeline for a custom Lead or Contact form. Thankfully, there is a simple way to ensure these interactions will show up in the record’s timeline.
Navigate to the Contact/Lead Table
You will have to add a custom connector to each table’s timeline control.
Best practice ALM tip: Do this in Sandbox first, test and verify, then deploy to Production.
- From a solution file, add the Contact (and/or Lead) table along with the form(s).
- Open the custom Contact or Lead form and click on the Timeline component.
- In the Properties panel on the right-hand side, click Advanced to expand additional options:
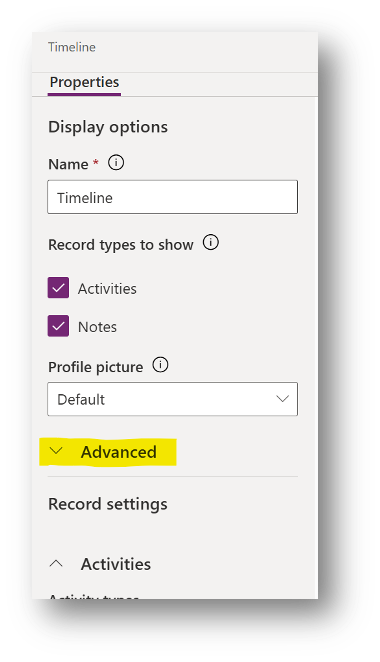
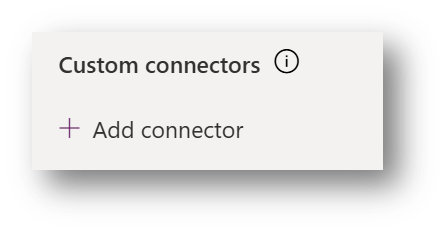
4. At the bottom of the Advanced options, find Custom Connectors, then click + Add connector.
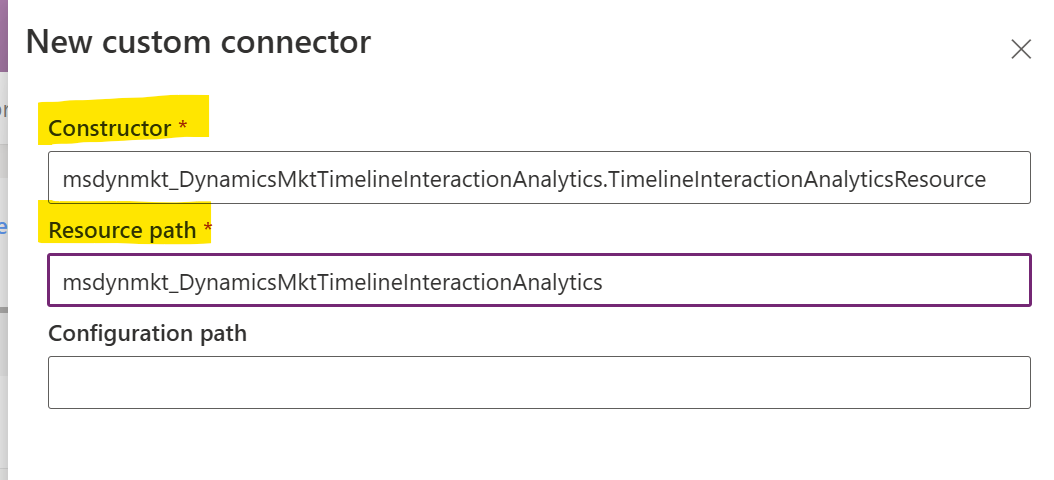
5. In the New customer connector pane, enter the following details, then click Save at the bottom:
- Constructor:
msdynmkt_DynamicsMktTimelineInteractionAnalytics.TimelineInteractionAnalyticsResource - Resource path:
msdynmkt_DynamicsMktTimelineInteractionAnalytics
6. Save and publish.
Wrapping it up
Once you have completed these steps, the timeline in your custom contact or lead form will now show all marketing interactions. Typically, you would want to repeat this process for the timeline control on both your Lead and Contact forms.