Monitoring Field Changes in Microsoft Dynamics 365 Business Central


Businesses spend a lot of time setting essential and often sensitive information in their ERP software, such as payment and routing information. A lot of care goes into the setup, which, if changed, can significantly impact business processing. Microsoft Dynamics 365 Business Central Field Monitoring notifications allows the configuration of notifications when specific field values are changed.
By monitoring changes to critical fields, you can quickly identify and respond to unauthorized or unexpected modifications, helping to protect sensitive information. You can set up automated email notifications to alert specific users whenever changes are made to monitored fields, keeping relevant stakeholders informed in real time.
Field monitoring ensures that any changes to important data are tracked and logged, which helps maintain the accuracy and reliability of business data. By being alerted to changes as they happen, you can address potential issues before they escalate, ensuring smoother business operations. Field monitoring provides a detailed audit trail of changes that may be applicable for compliance with regulatory requirements and internal audits.
Field monitoring adds an extra layer of security and control over your data, making it a valuable feature for businesses using Business Central.
Note: The Change Log must be active for Field Monitoring Notifications to work correctly.
To monitor field changes within Business Central:
1. Enable Field Monitoring Setup
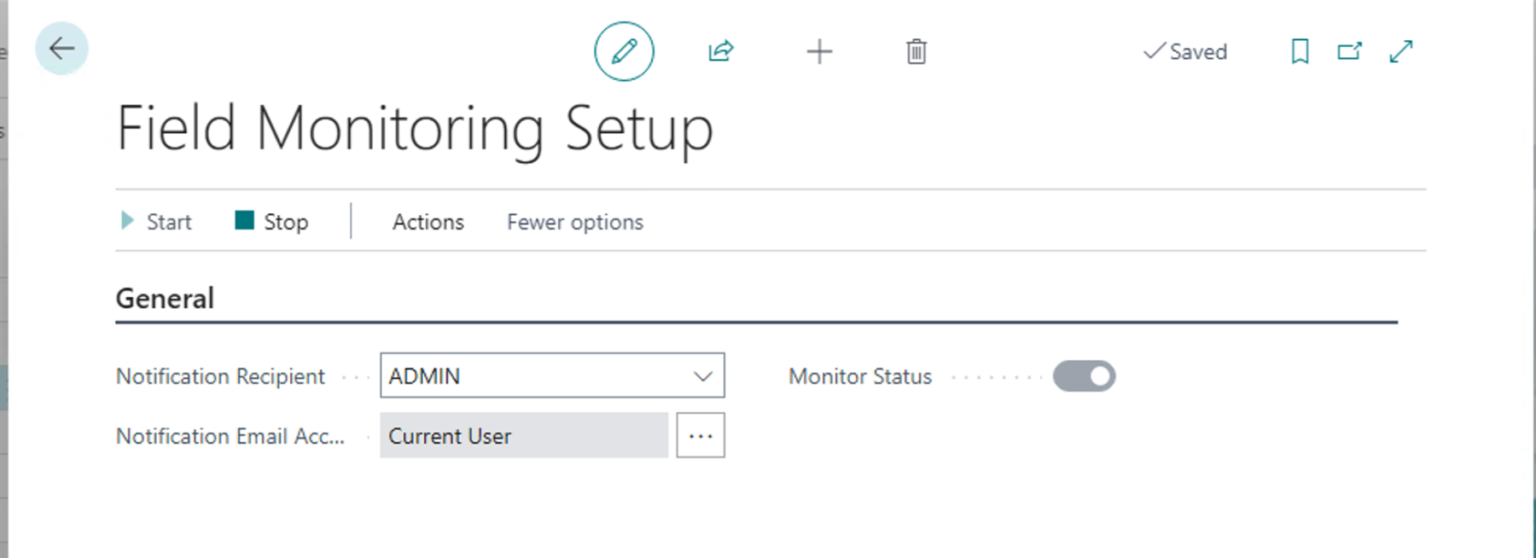
- Search for “Field Monitoring Setup” using the “Tell Me” Action in the App Bar and click the “Field Monitoring Setup” Administration link.
- Select the Notification Recipient
- Select the Notification Email Account (Email set up is a prerequisite)
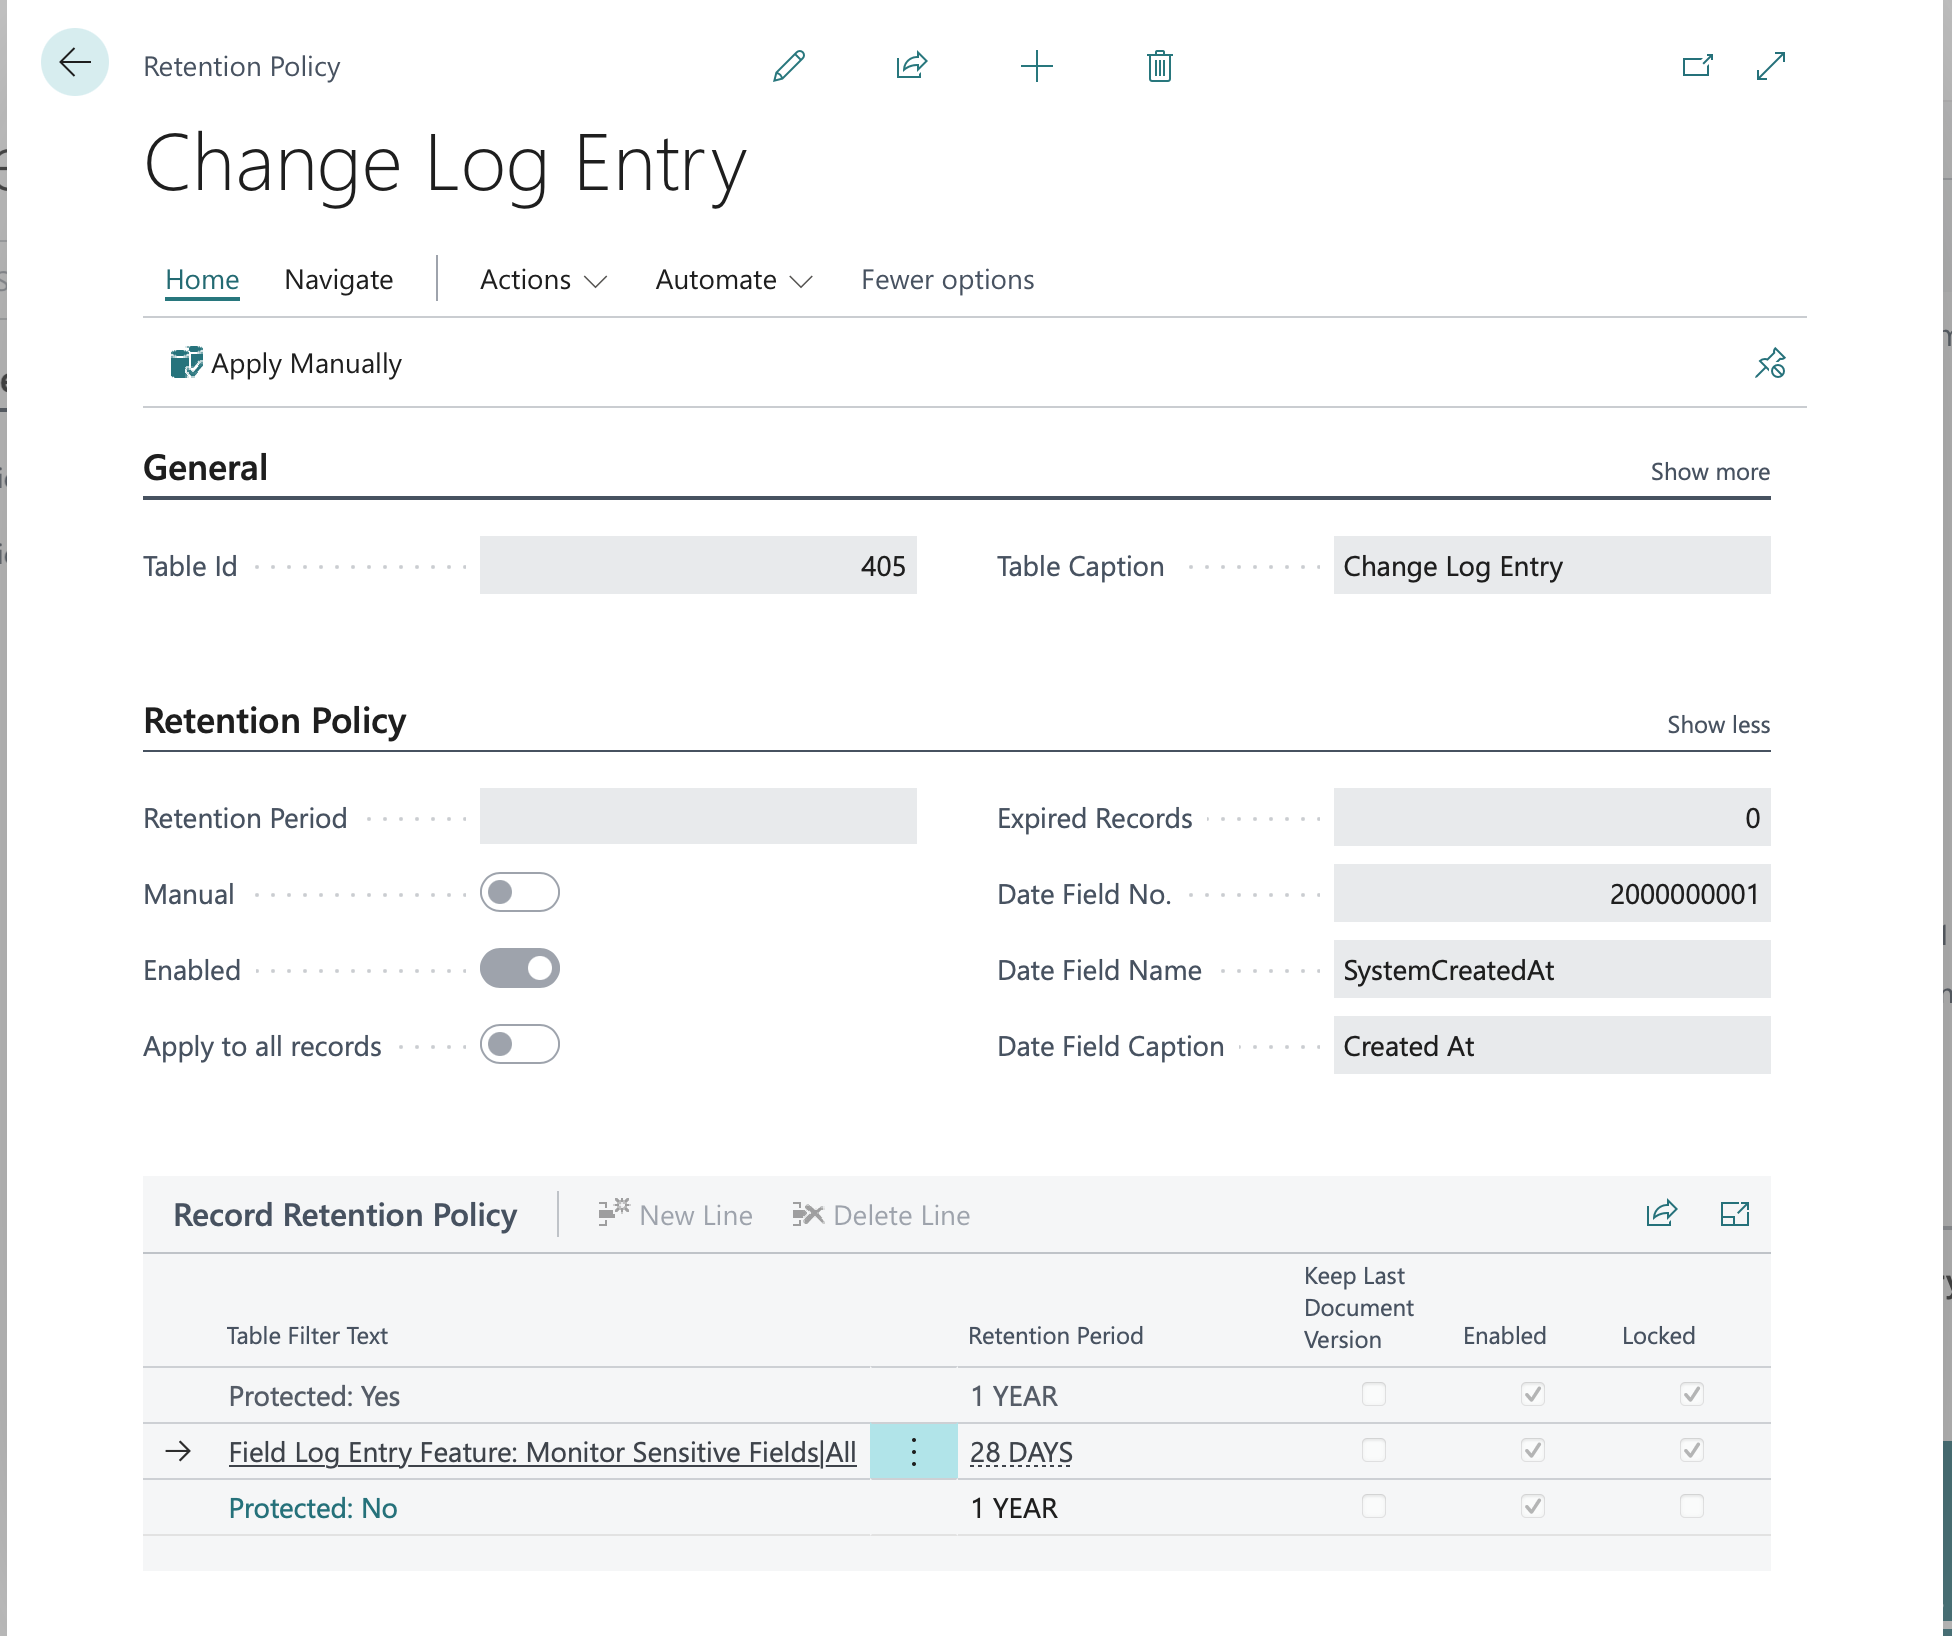
- The retention policy of the records, how long the changes should remain in the log, can be set by clicking the Retention Policy action from the Action Bar.
2. Click Start in the Action Ribbon. To turn off monitoring, click the Stop Action.
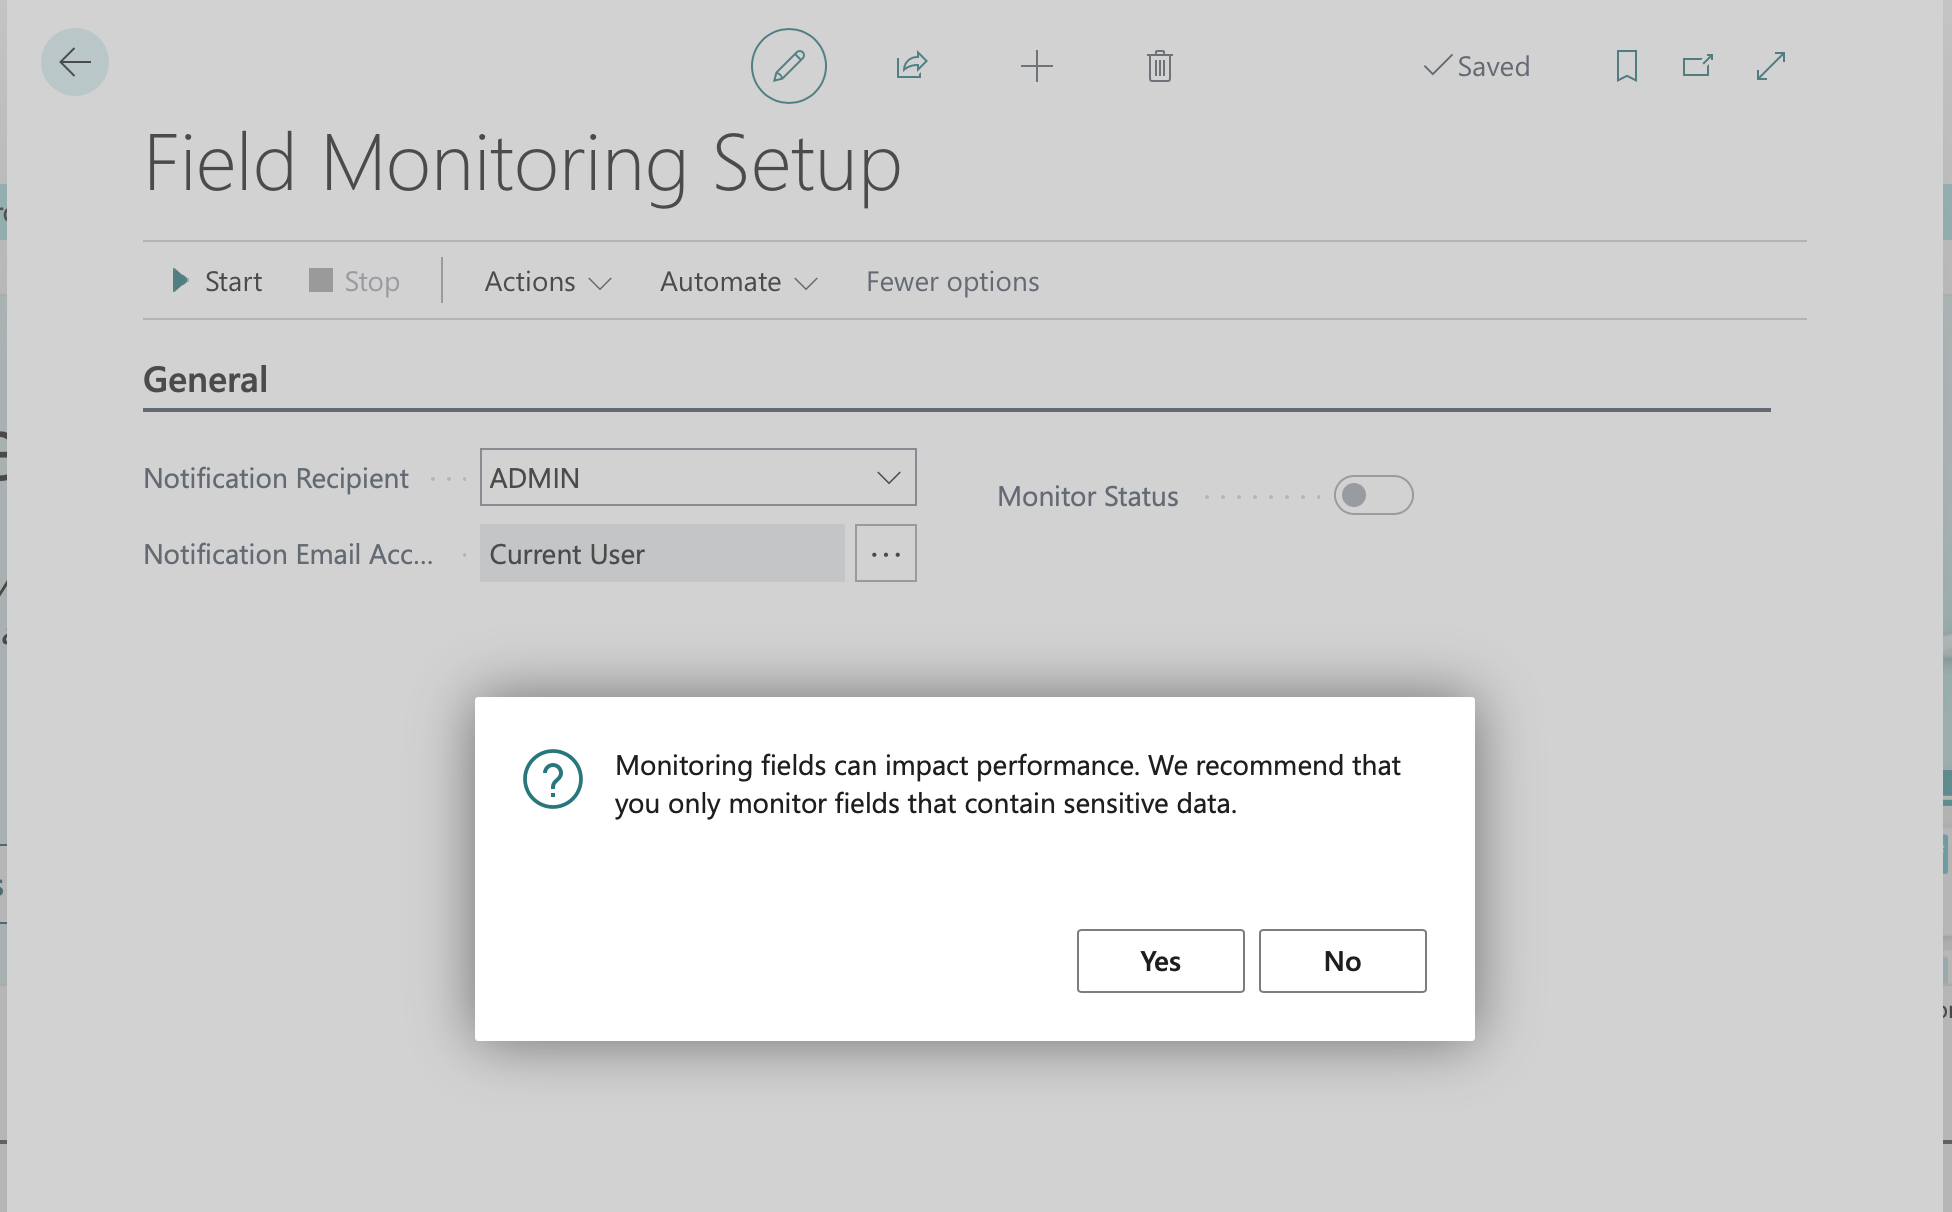
Note: When enabling Field Monitoring Setup, the application will display an alert of the potential performance impact of monitoring fields.
3. Set up field change notifications:
- Search for “Monitored Field Worksheet” using the “Tell Me” Action in the App Bar and click the “Monitored Field Worksheet” Administration link.
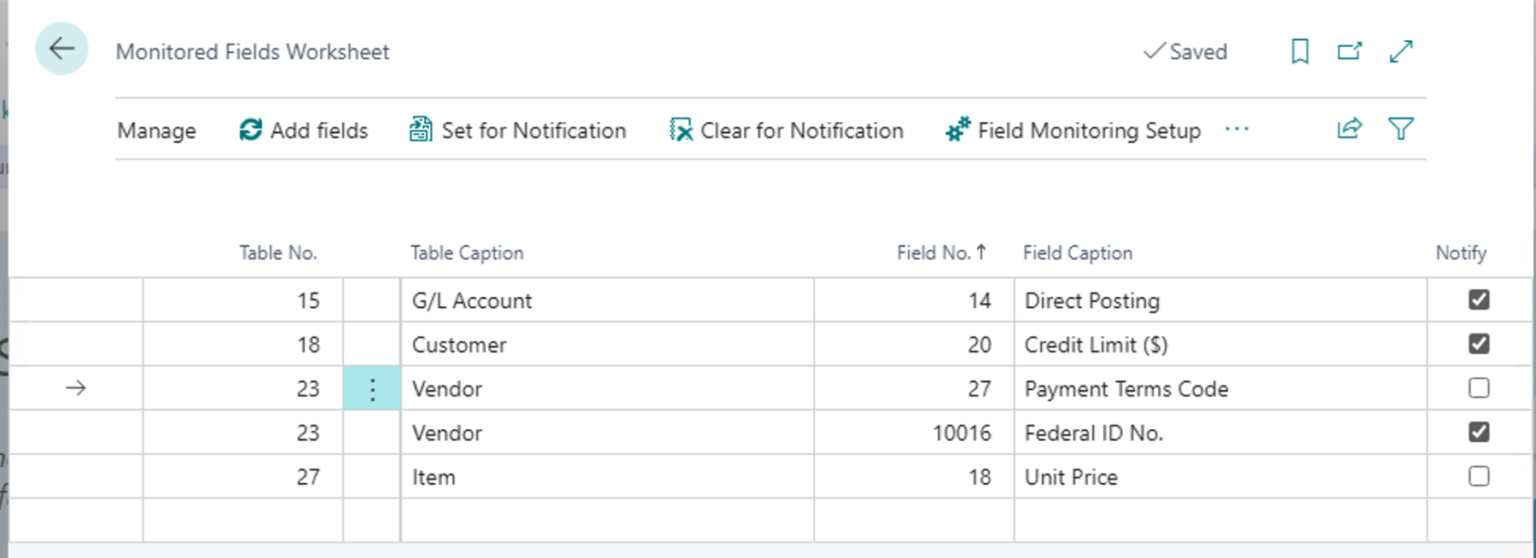
4. The “Monitored Fields Worksheet” opens. In the Worksheet, add the Table and Field combinations to monitor.
- Enter the table number to monitor. You can enter it directly or select it from the table list, which is accessible by clicking the “three dots” adjacent to the field.
- Enter the Field number to monitor; that can be entered directly or selected from the Field list accessible by clicking the “three dots” adjacent to the field.
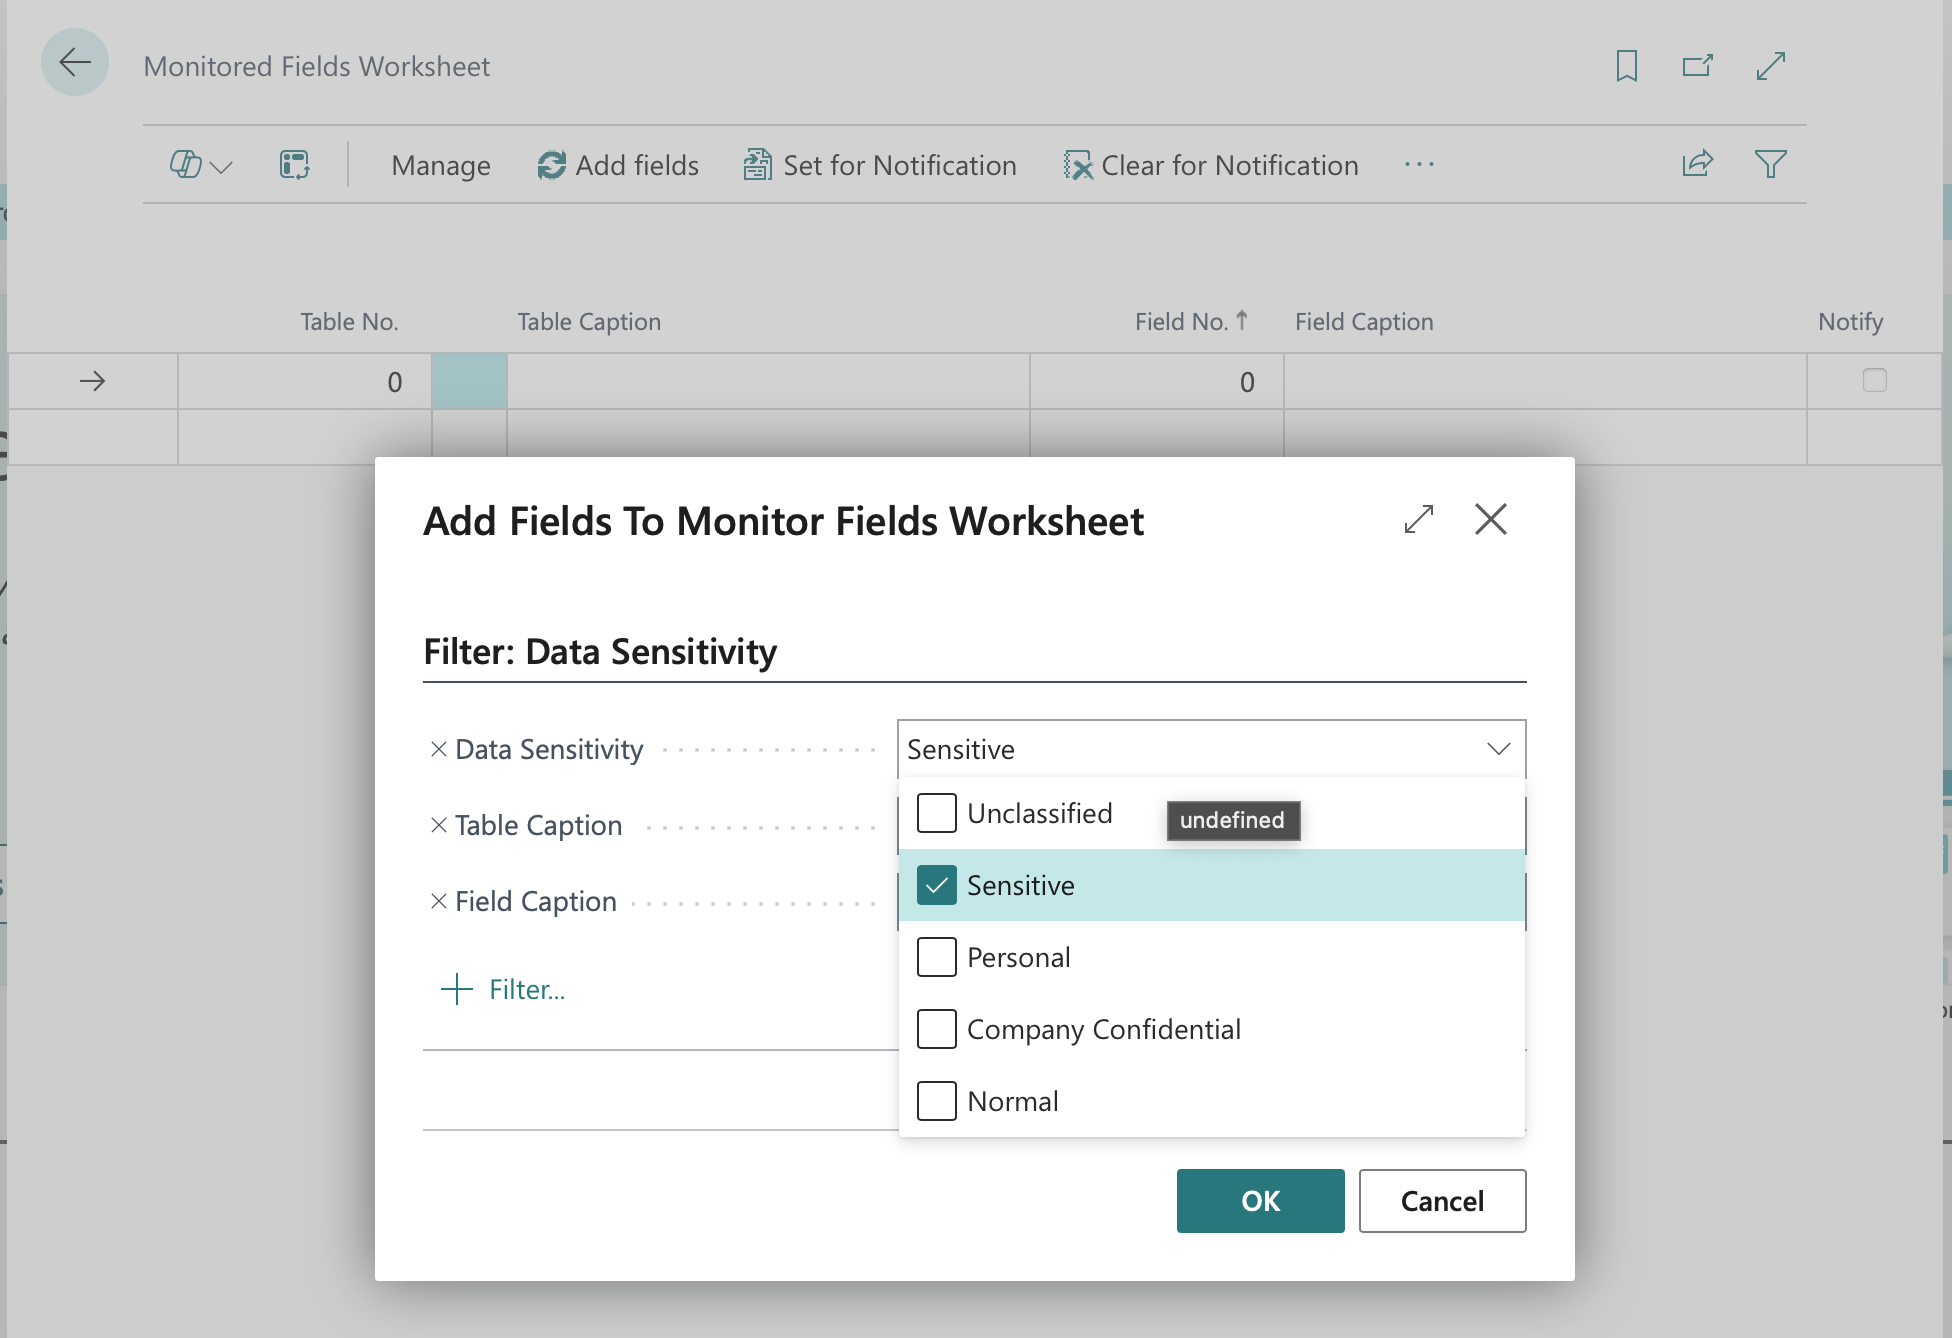
- You can also add fields to the Monitor Fields Worksheet by selecting the Add Fields action and entering the filter information for the fields you’d like to monitor based on sensitivity or caption.
5. Select the rows and select the “Set for Notification” action to enable the fields to notify; selecting the “Clear for Notification” action will disable them.
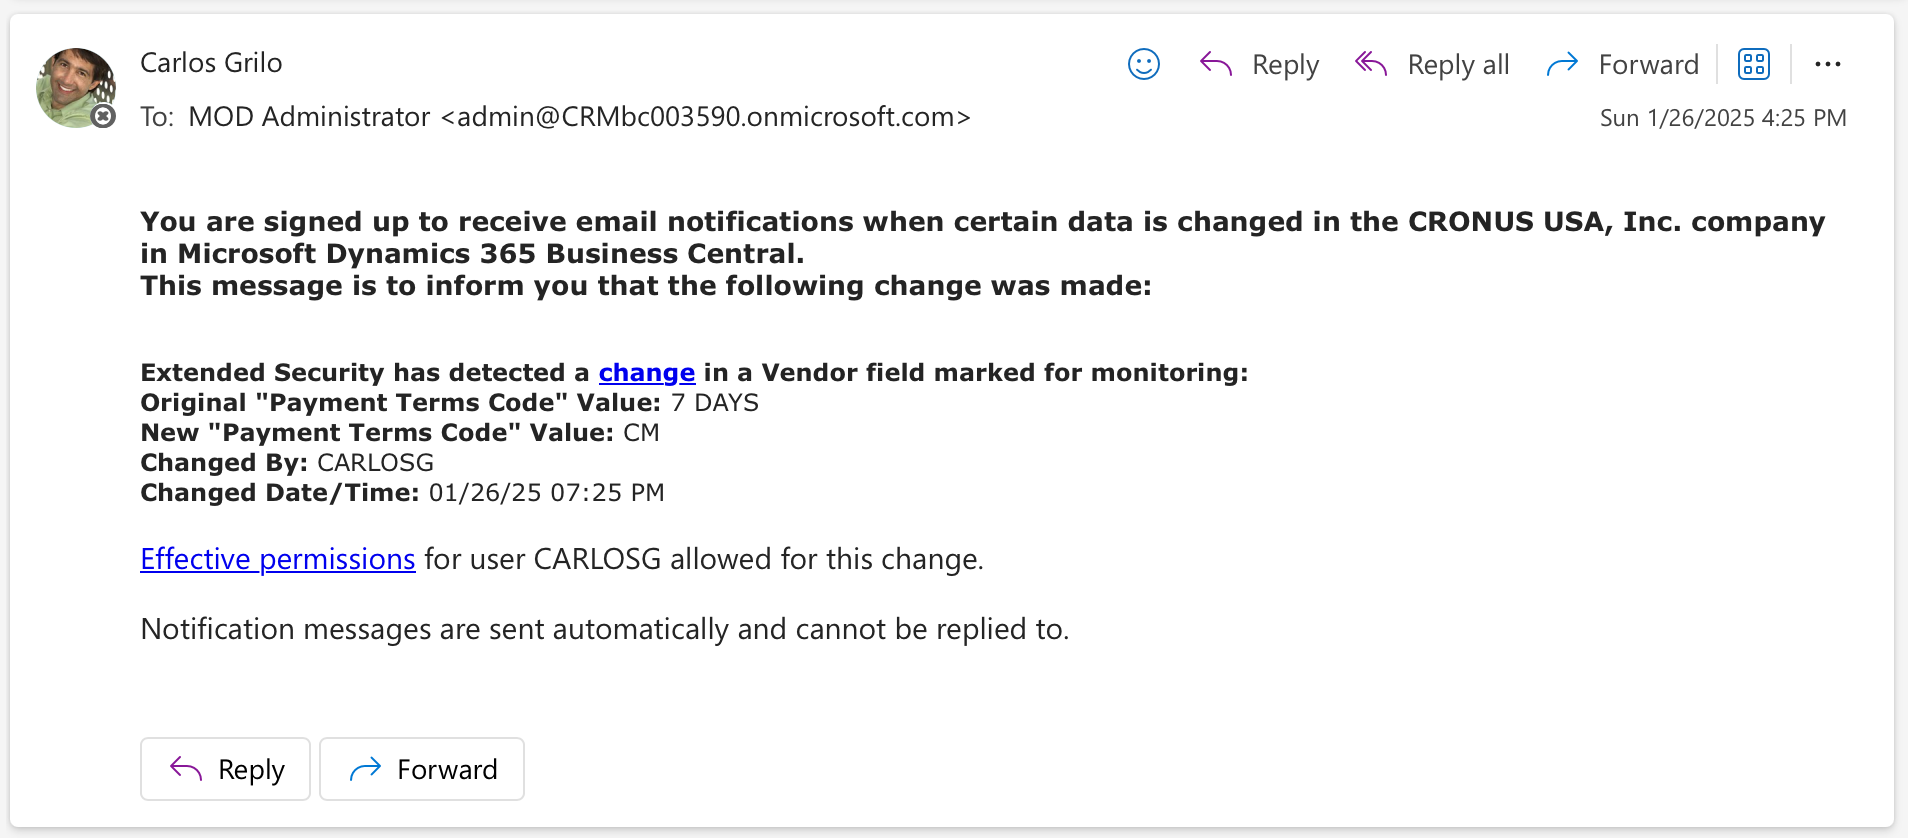
Email alerts will be sent to the selected recipients when the monitored field values are changed, as depicted in the image below: