Elevating User Experience in Model-Driven Apps: Tips and Tricks for Optimal Engagement – Part 3

In part 3 of this series, we’re diving into a common need: the ability to quickly duplicate records within the system. Whether you’re managing accounts, contacts, or other entities, a “Copy Record” button can save significant time and ensure data consistency. In this post, I’ll guide you through the steps to create a custom “Copy Record” button for accounts.
Step-by-Step Guide to Creating a Copy Record Button
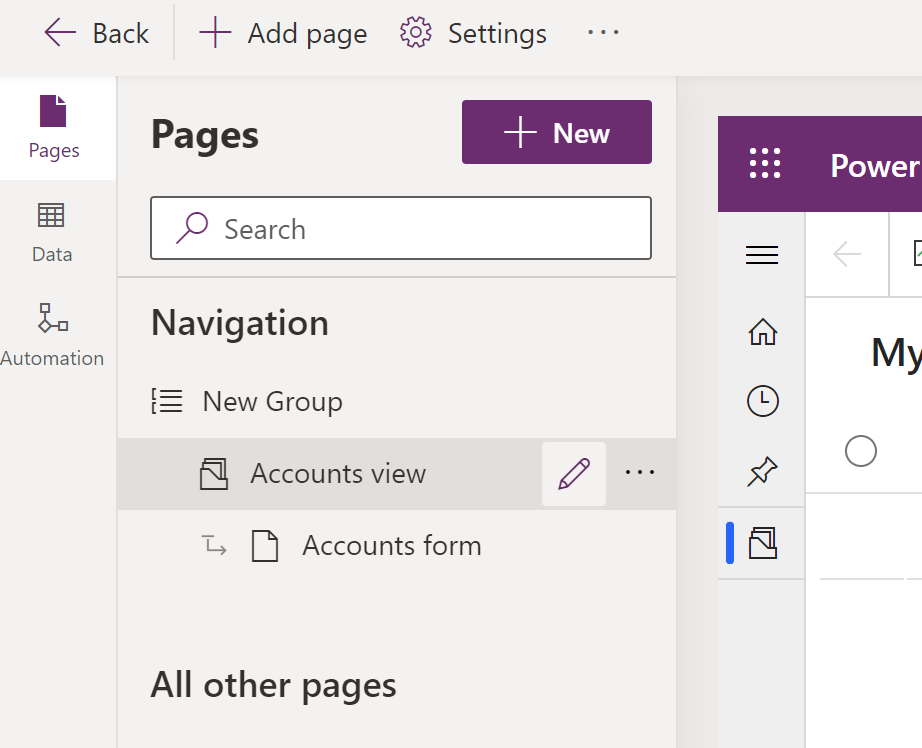
Step 1: Access the Account’s View in Your App
Navigate to the account’s view within your Model-Driven App.
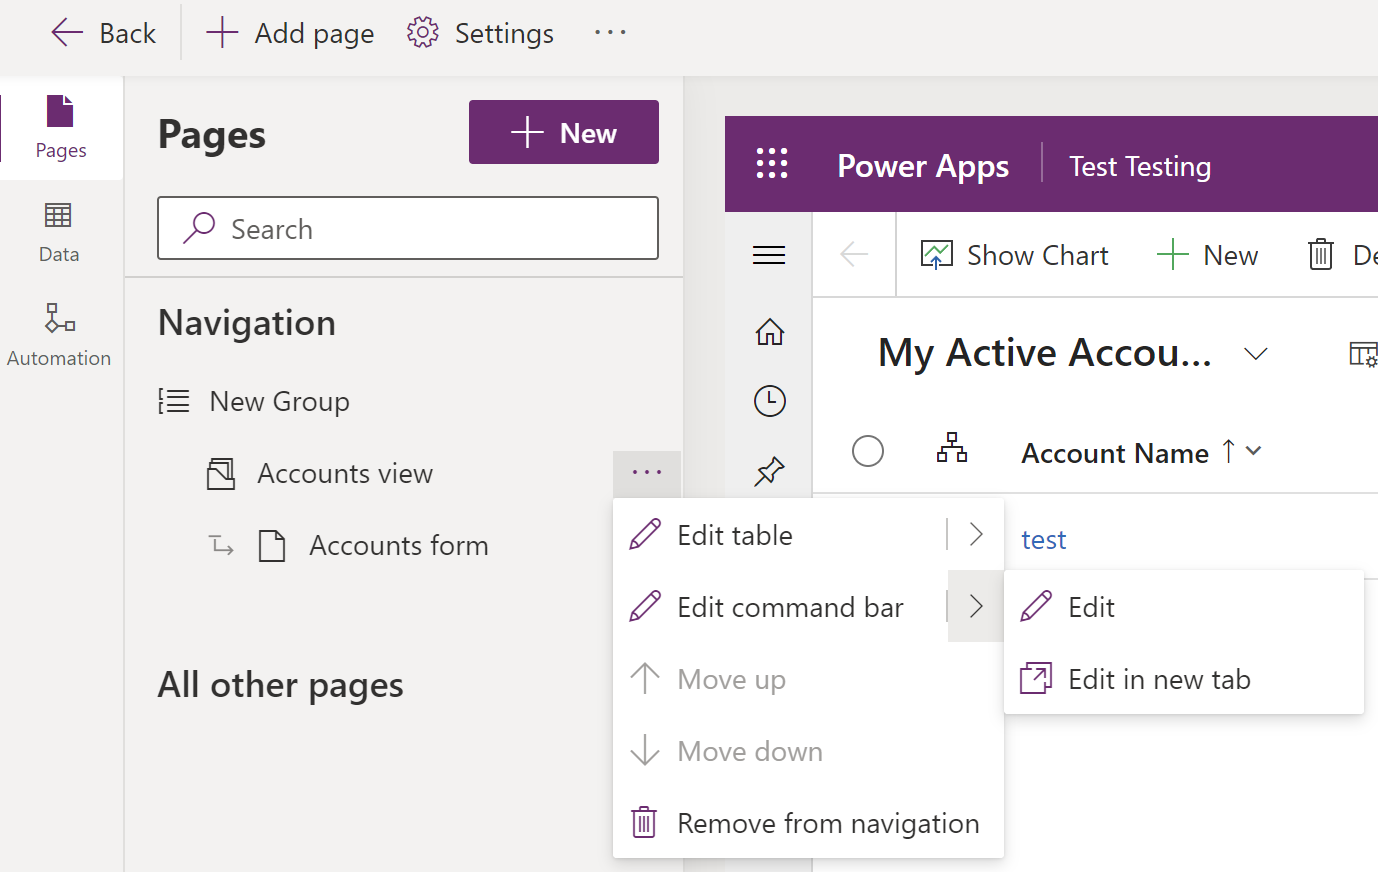
Step 2: Edit the Command Bar
Select the “Edit” command bar on the Account view.
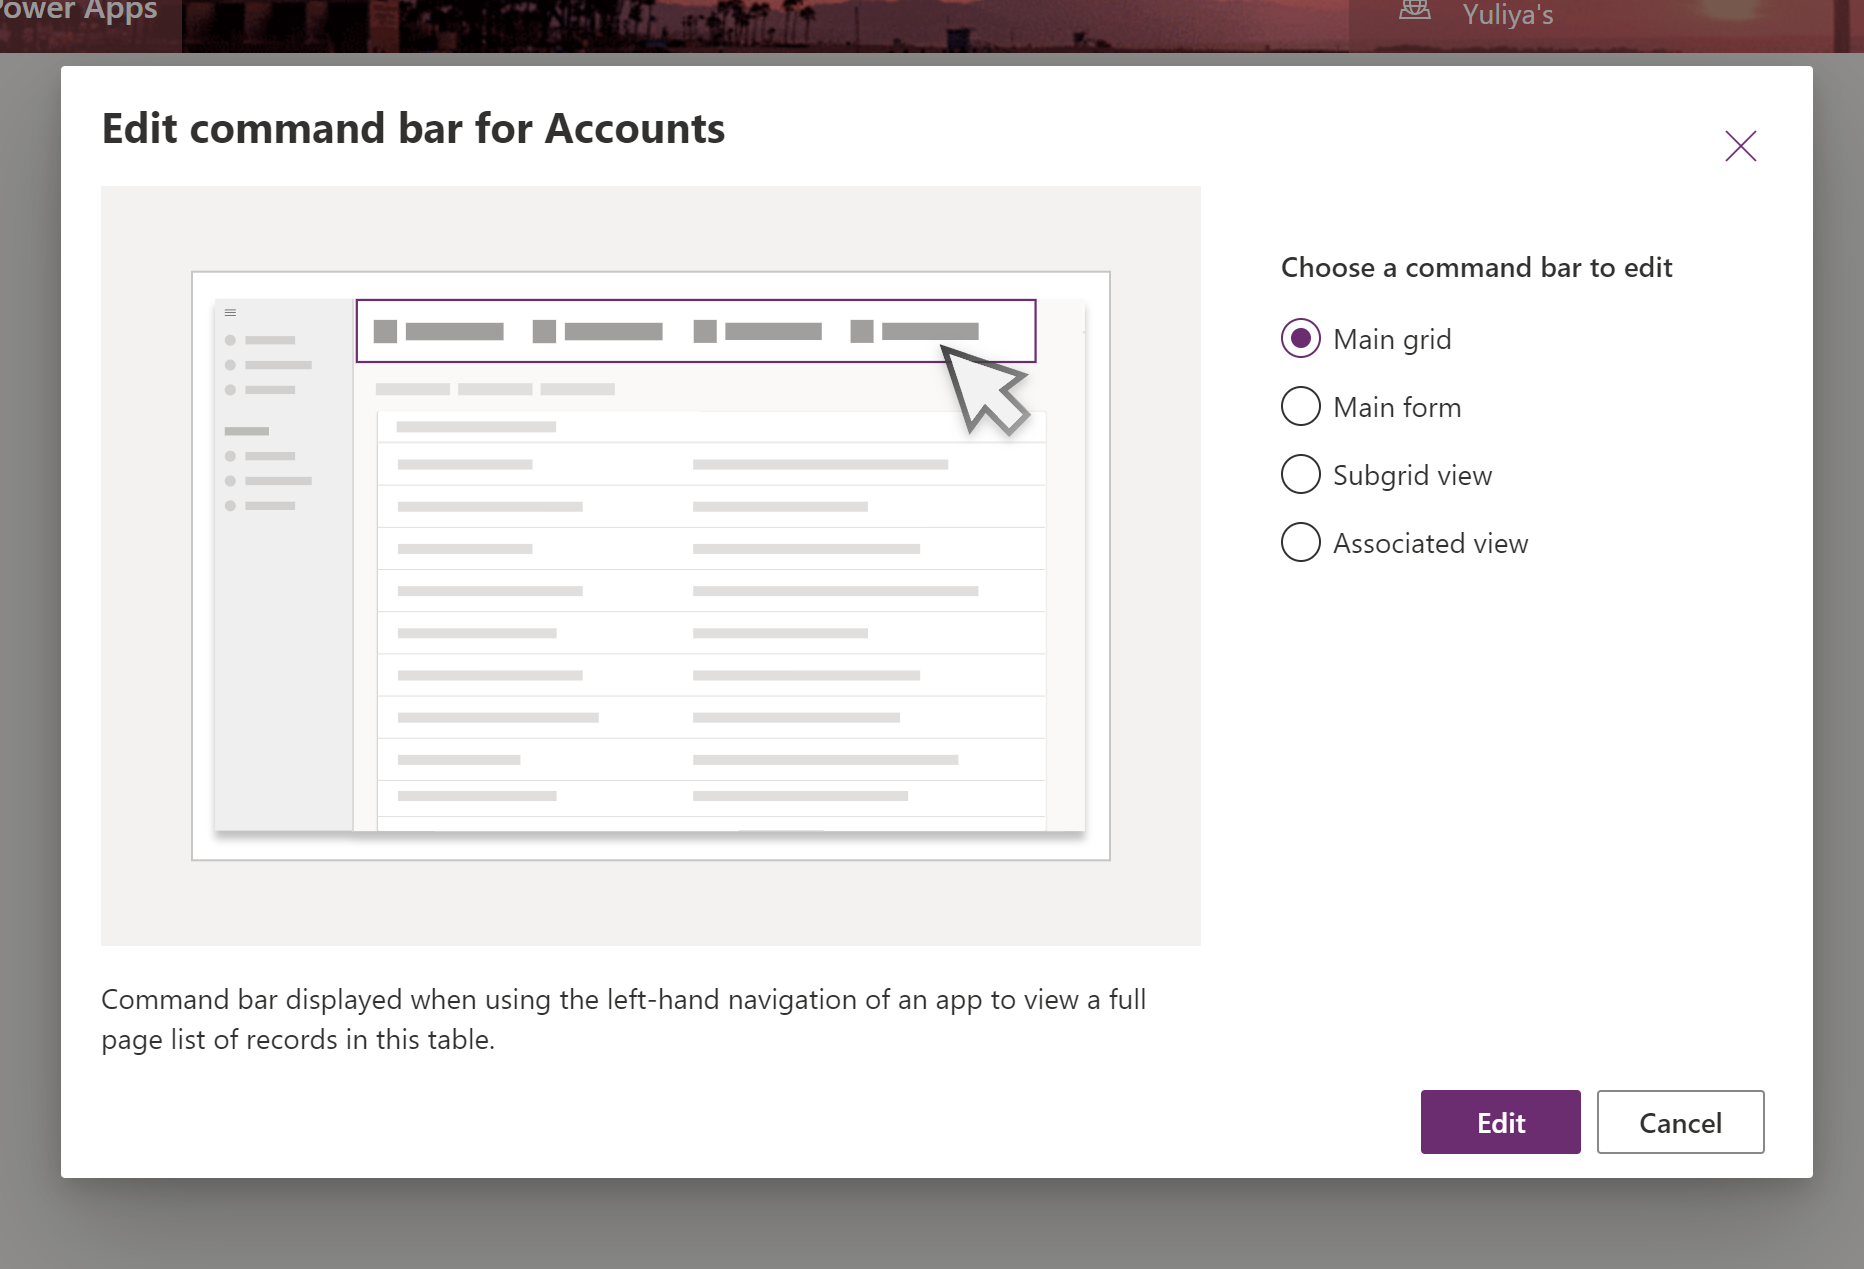
Step 3: Edit the Main Grid
Choose to edit the Main grid.
Step 4: Create a New Command
Go to the “Create New” command option.
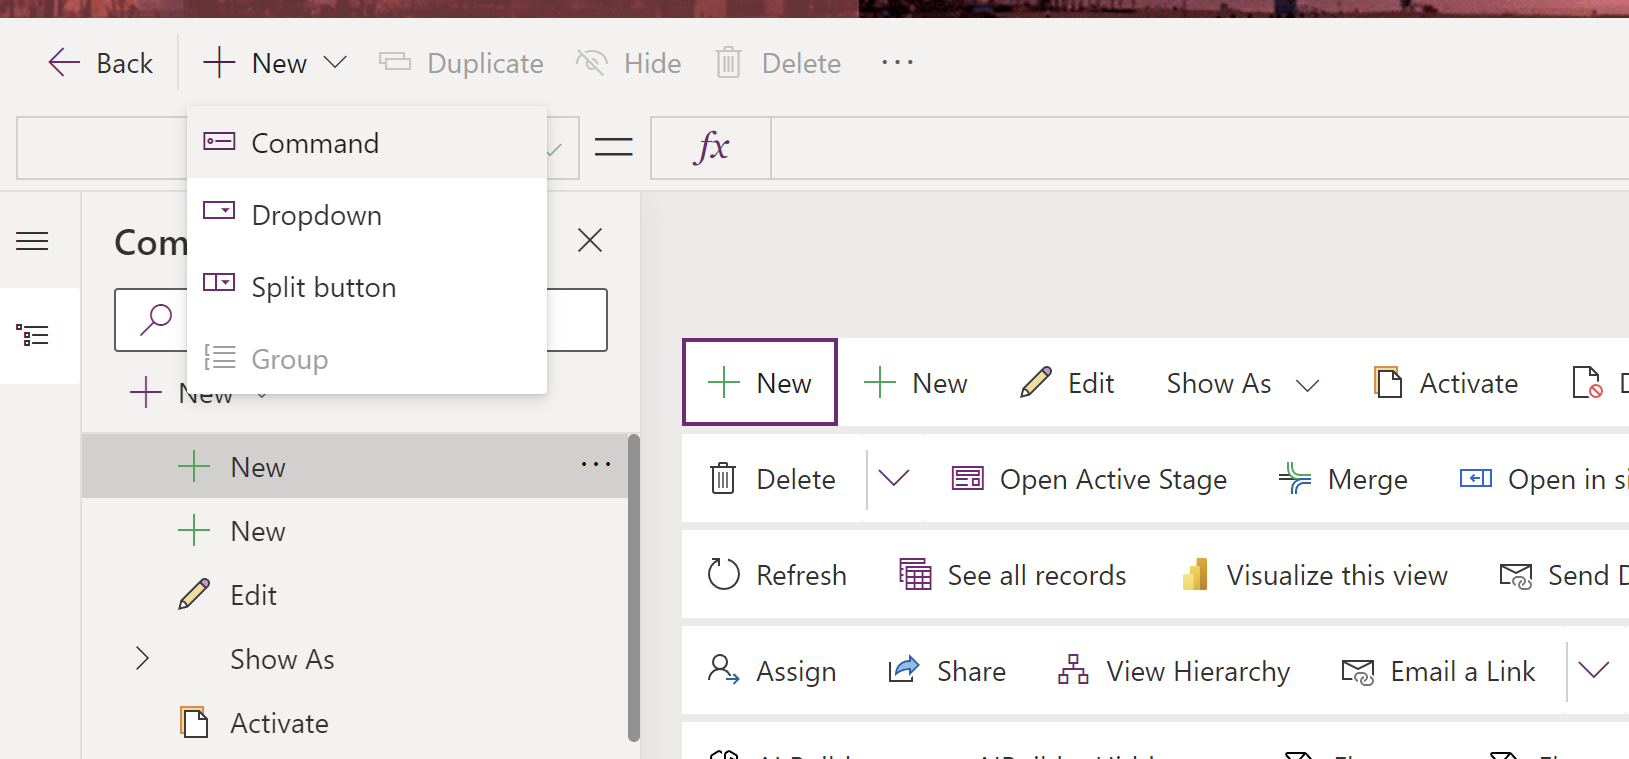
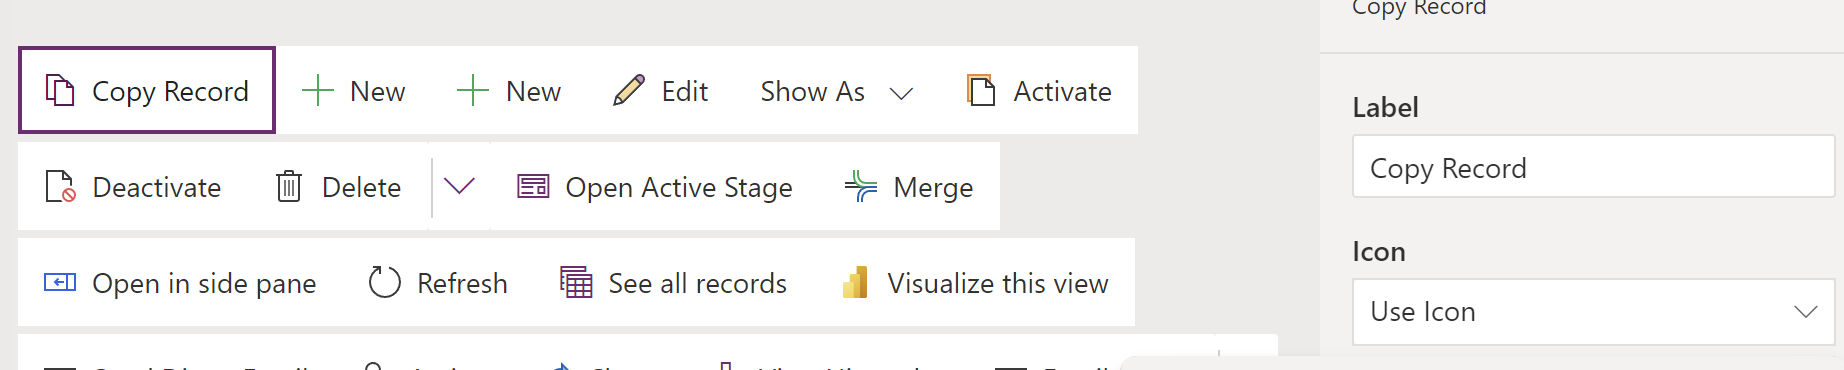
Step 5: Customize the New Command
Once the new command appears, rename it and choose an appropriate icon.
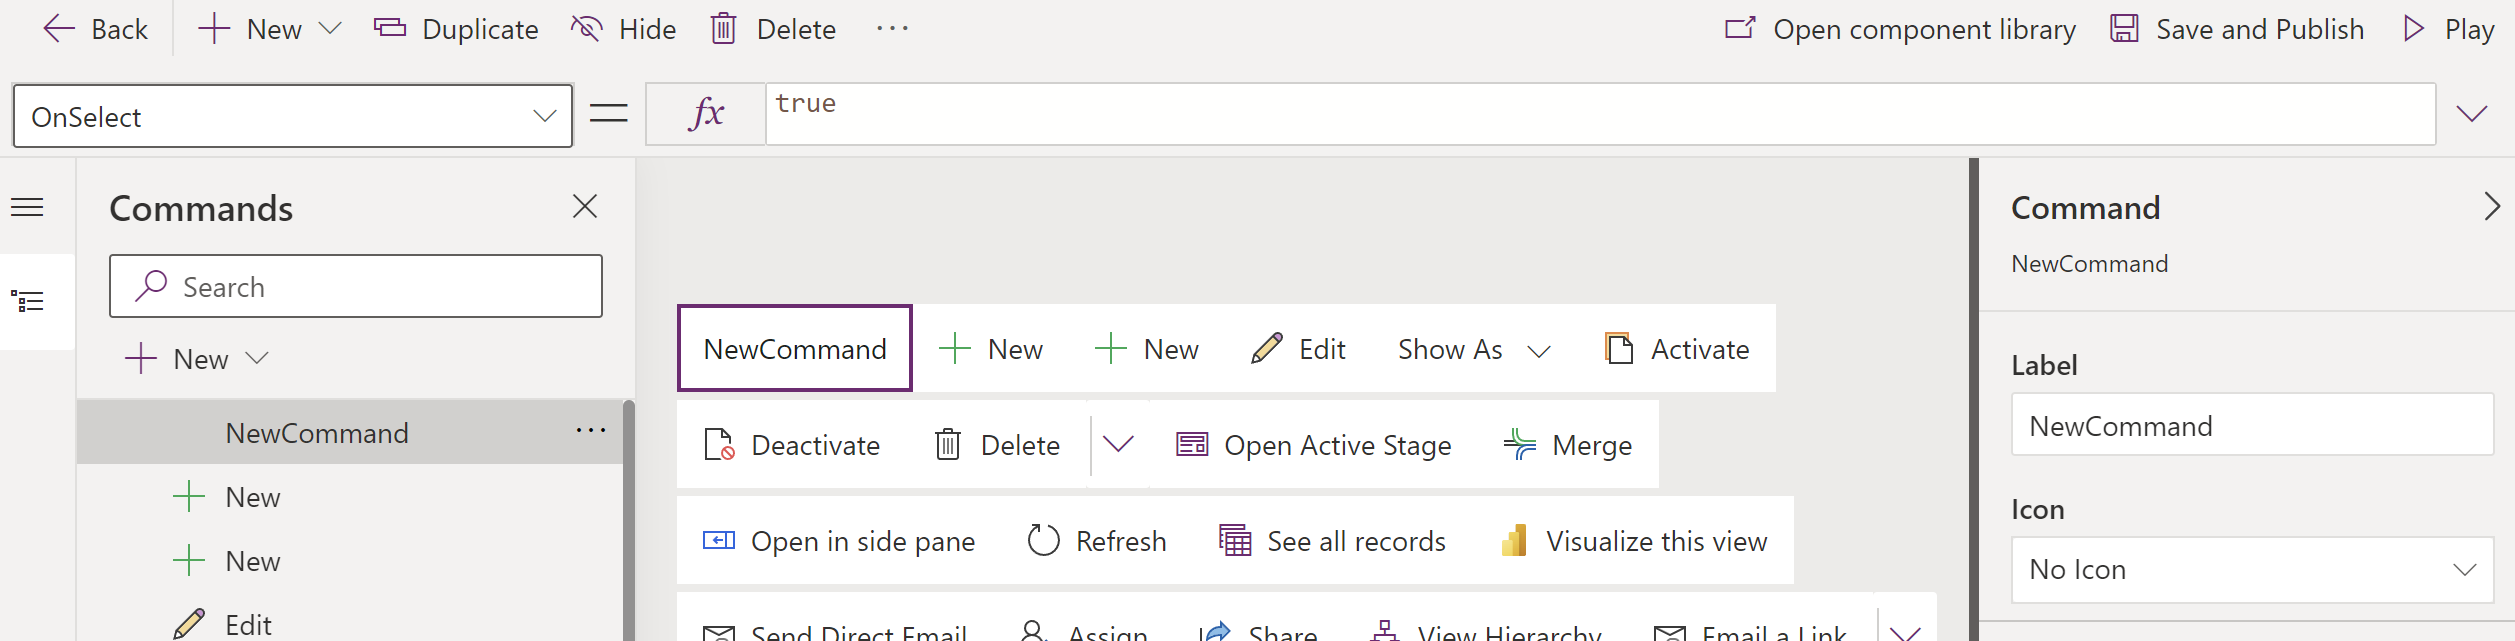
Step 6: Write the OnSelect Action Formula
In the function editor, enter this function:
ForAll(Self.Selected.AllItems,Patch(Accounts,Defaults(Accounts),{‘Account Name’:”Cloned “&ThisRecord.’Account Name’}));
This function patches the selected account records, creating duplicates with a new account name. To modify additional fields, include them within the {} brackets.
Additionally, to display a notification showing the number of records copied, use this function:
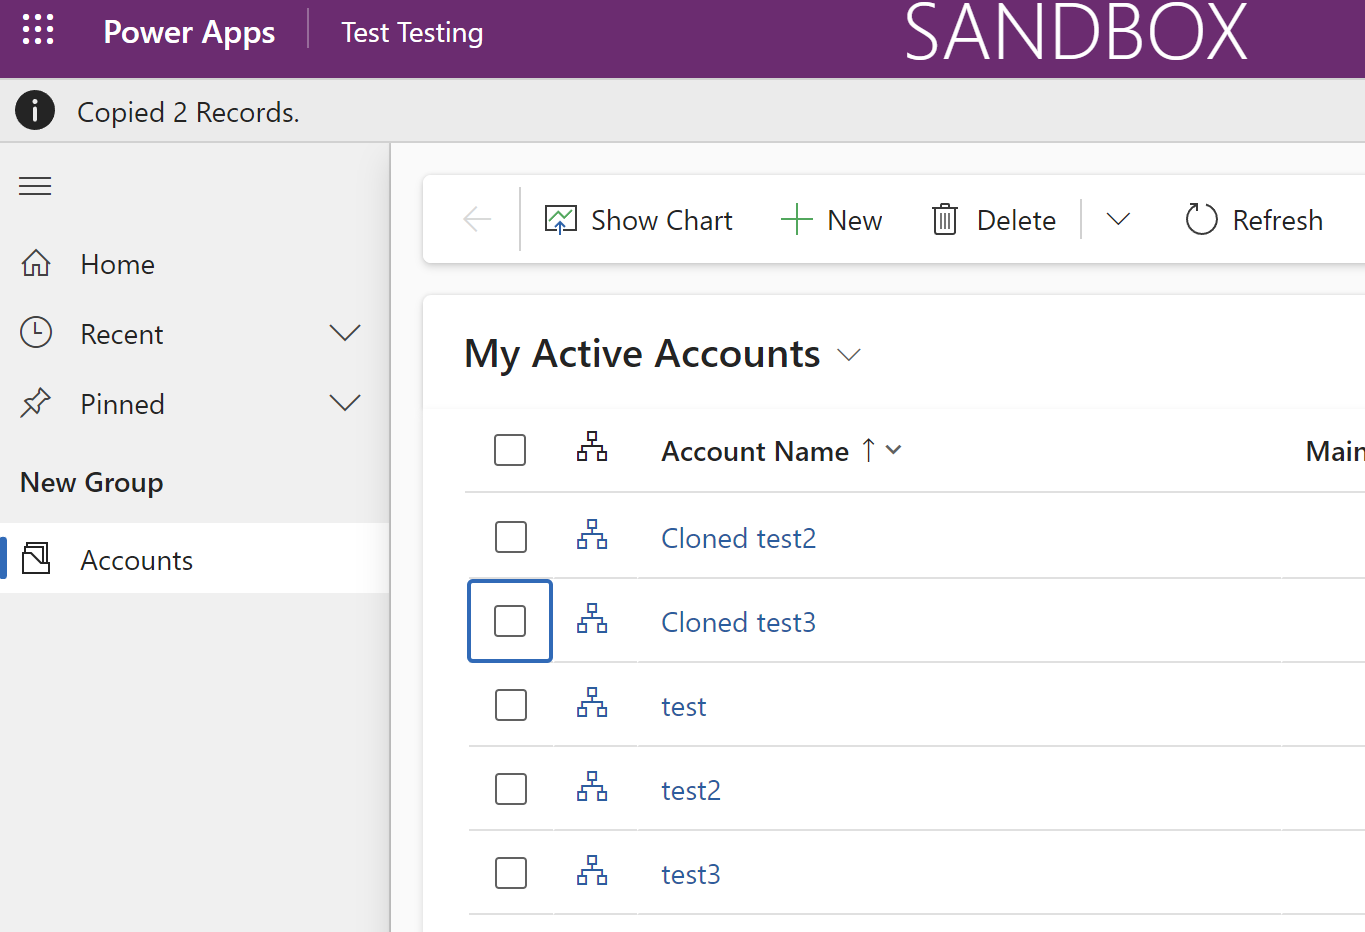
Notify(“Copied “&CountRows(Self.Selected.AllItems)&” Records.”);

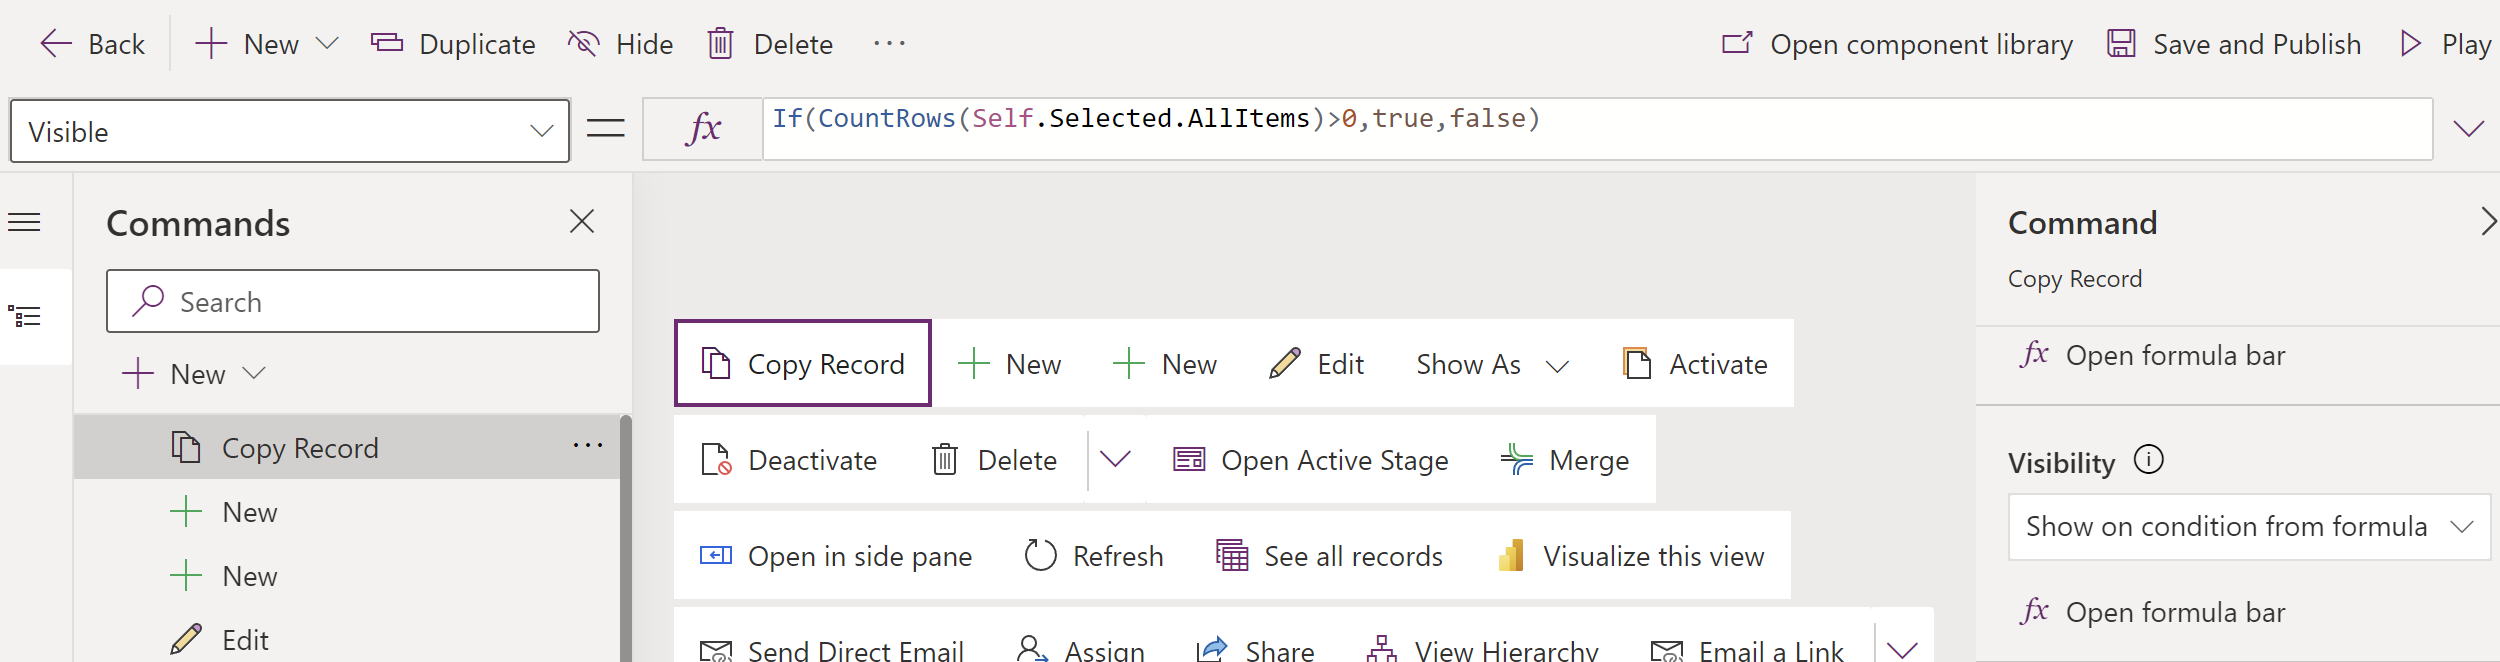
Step 7: Set Button Visibility
Ensure the button only appears when one or more records are selected by setting this function in the Visibility field:
If(CountRows(Self.Selected.AllItems)>0,true,false)

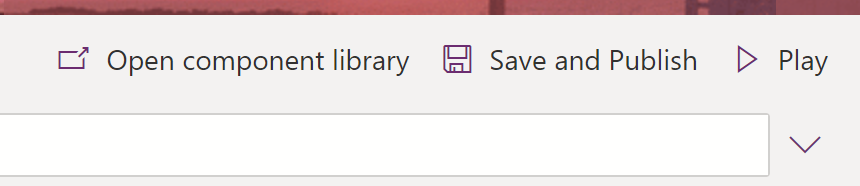
Step 8: Publish Customizations
Save and publish your customizations.
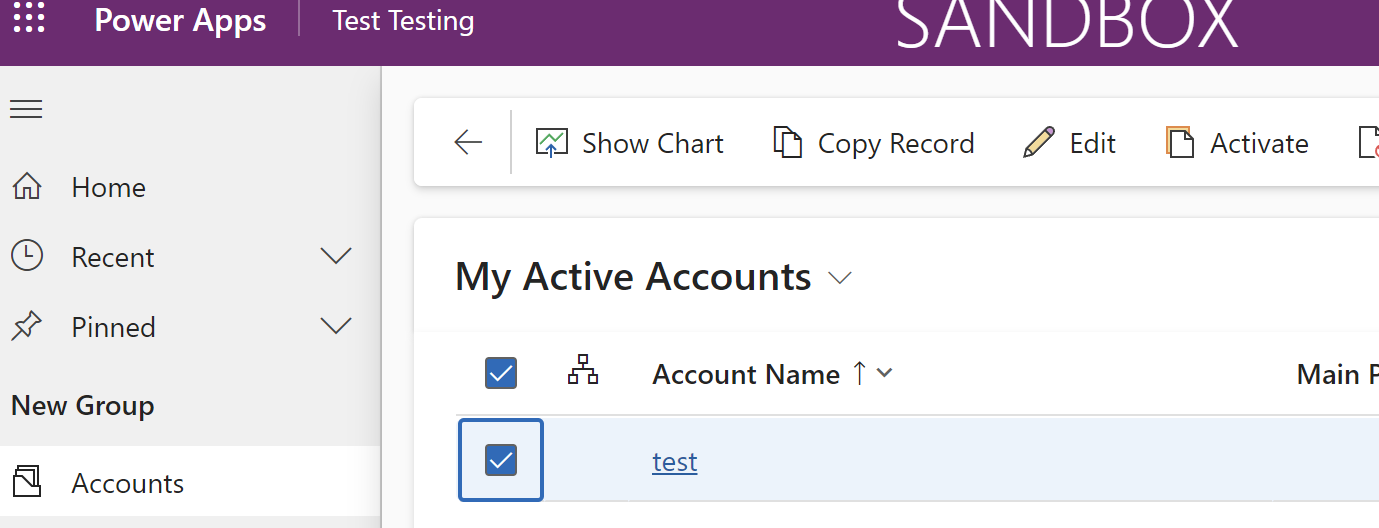
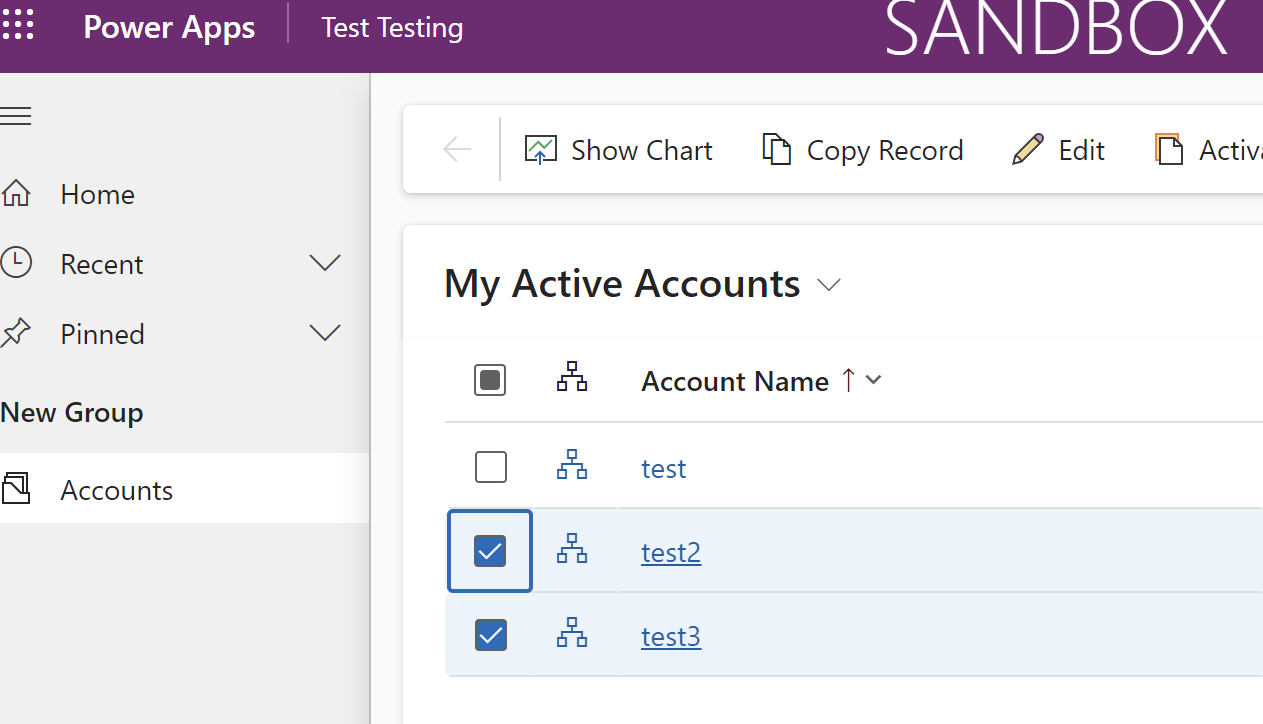
Testing Your New Copy Record Button
Navigate to an account record in your app. Once you select the records, the new “Copy Record” button should be visible. Upon pressing the button, the selected records will be duplicated, and a notification will confirm how many records were copied.
By following these steps, you can streamline data entry and management in your app, making it easier to handle repetitive tasks efficiently. The “Copy Record” button not only saves time but also helps maintain consistency across records.
Remember, while this example focuses on the Account entity, you can adapt the script and steps for other entities within Dynamics 365 as needed. Happy customizing!